I’d like to thank Sabrina from Hugs & Love by Sabrina for sharing this handmade baby blanket tutorial with us. A perfect baby shower gift is something handmade. So why not try your hand at a baby blanket? It is really simple to do, you just need to try! I am here to show you how by using a charm pack.
Supply List:
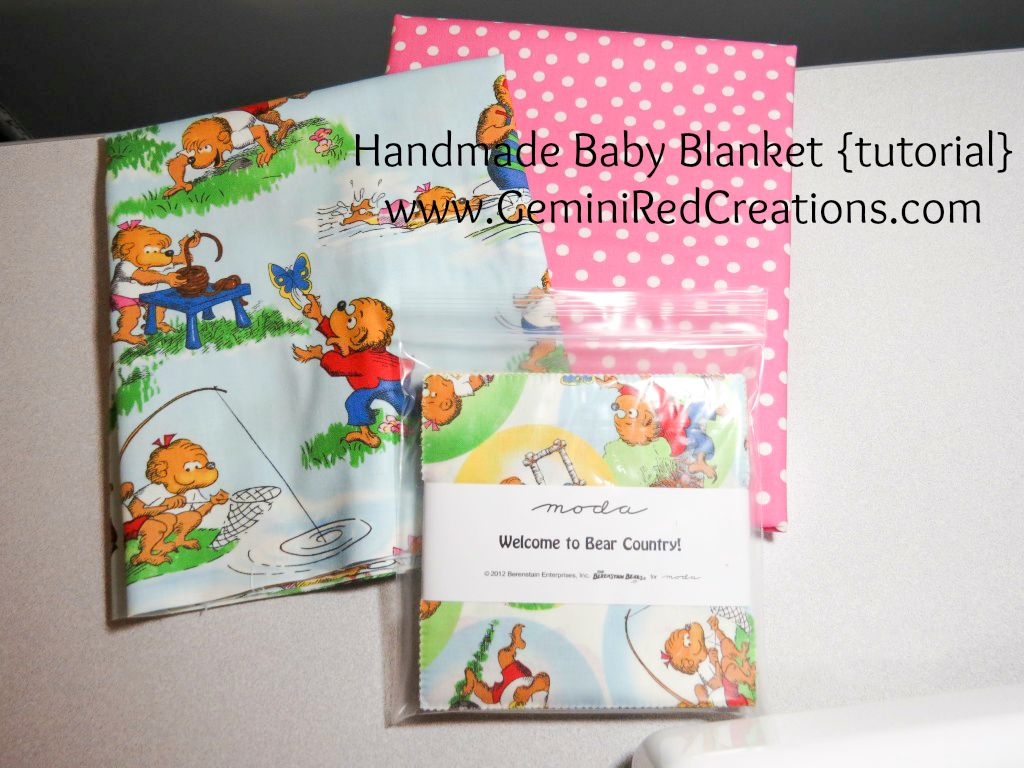
1 Charm pack (or 42 5″ squares)
1 yard backing fabric
1/2 yard binding fabric
batting
Ruler
Matching Thread
Rotary cutter
Safety pins
Sewing machine
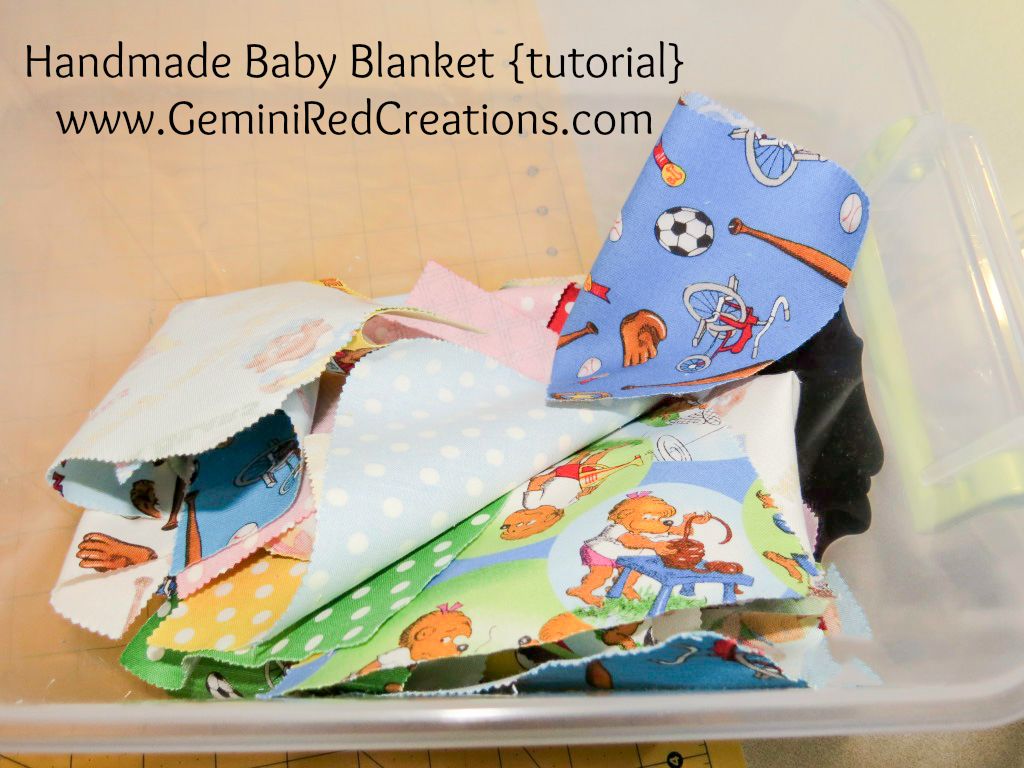
Step 1: Open your charm package. Now mix them up! I like to use a small bucket. I separate the charms and put in the bucket, then shake!
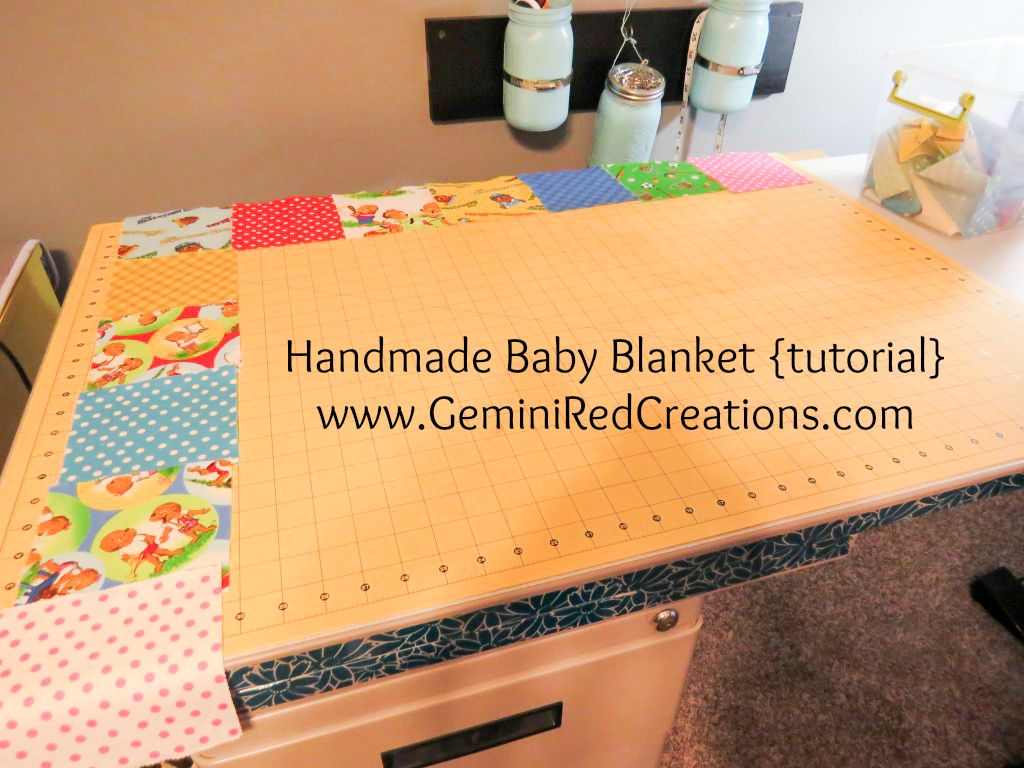
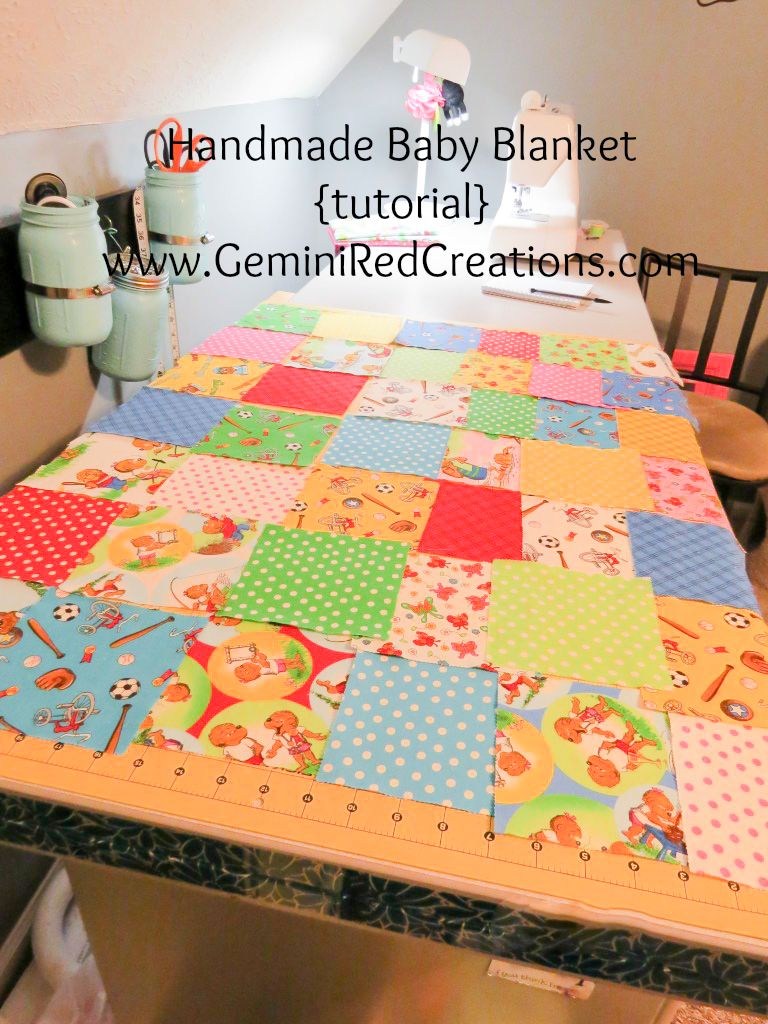
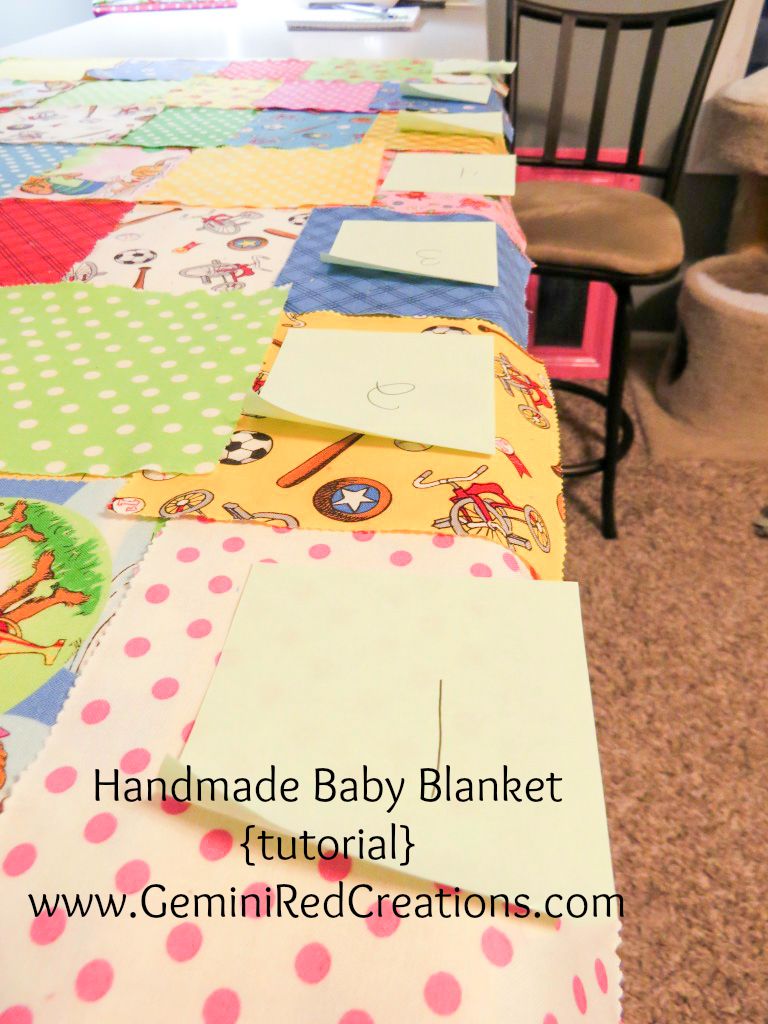
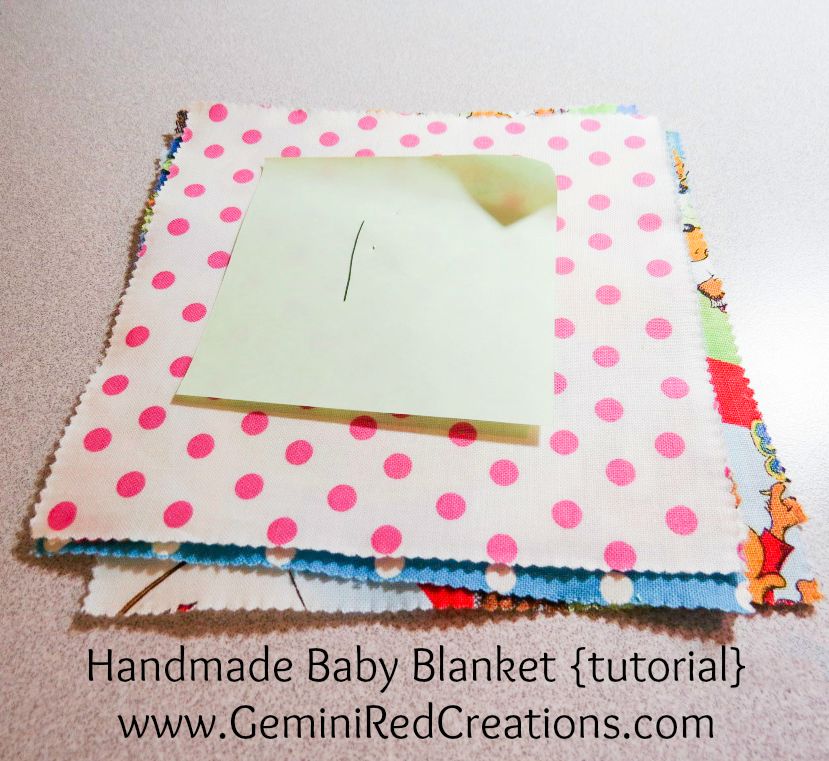
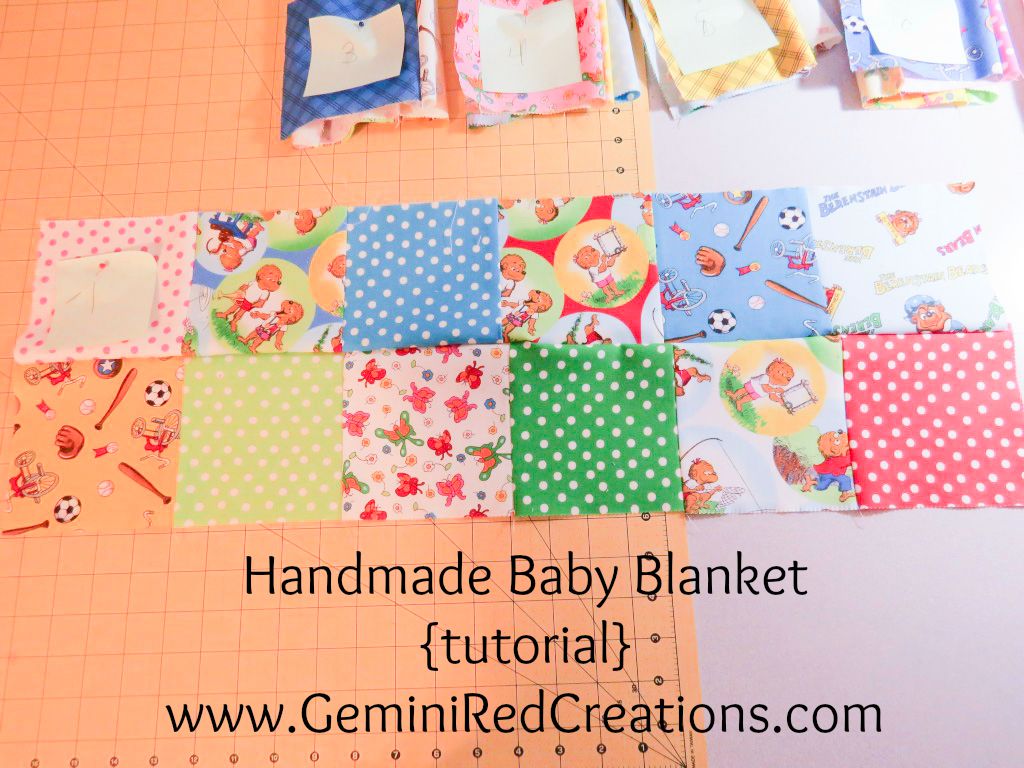
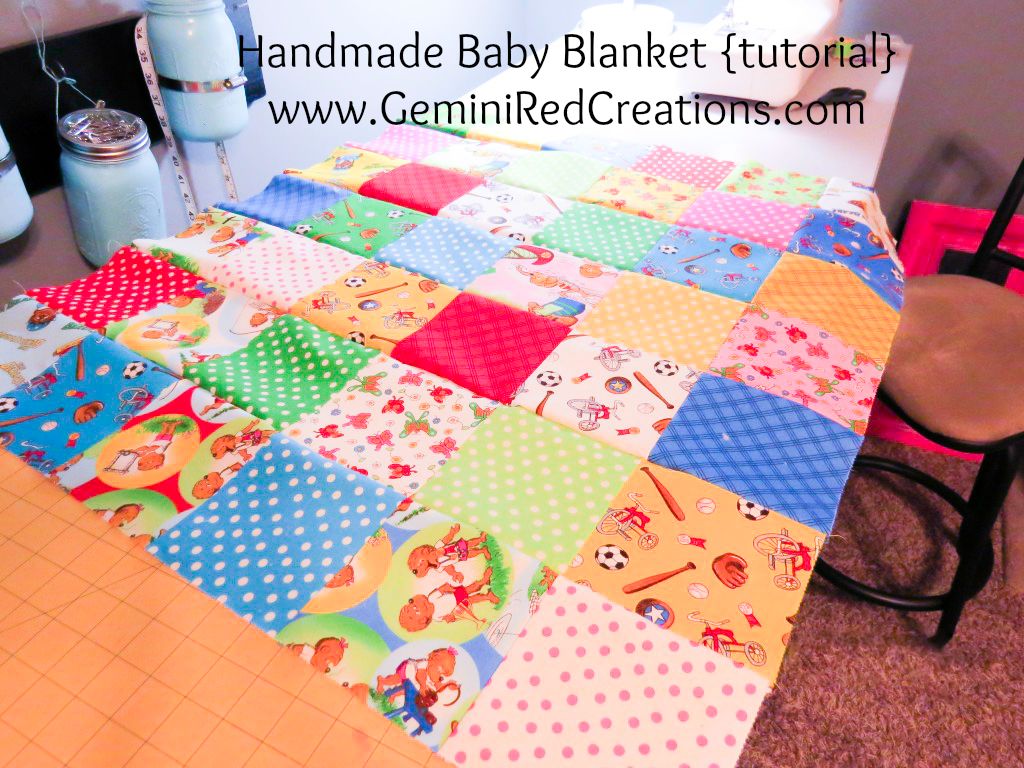
Step 2: Since we have 42 squares, we will have 6 columns and 7 rows. Start laying out your charms, in no particular order. (Ok I will admit I make sure I try to vary up patterns and colors the best I can). I usually do 1 column and 1 row then fill it in. Once you have the layout you like, mark each row. I use sticky notes and a pin. This helps keep the layout just how you want it. Then stack them up, keeping the number on top.
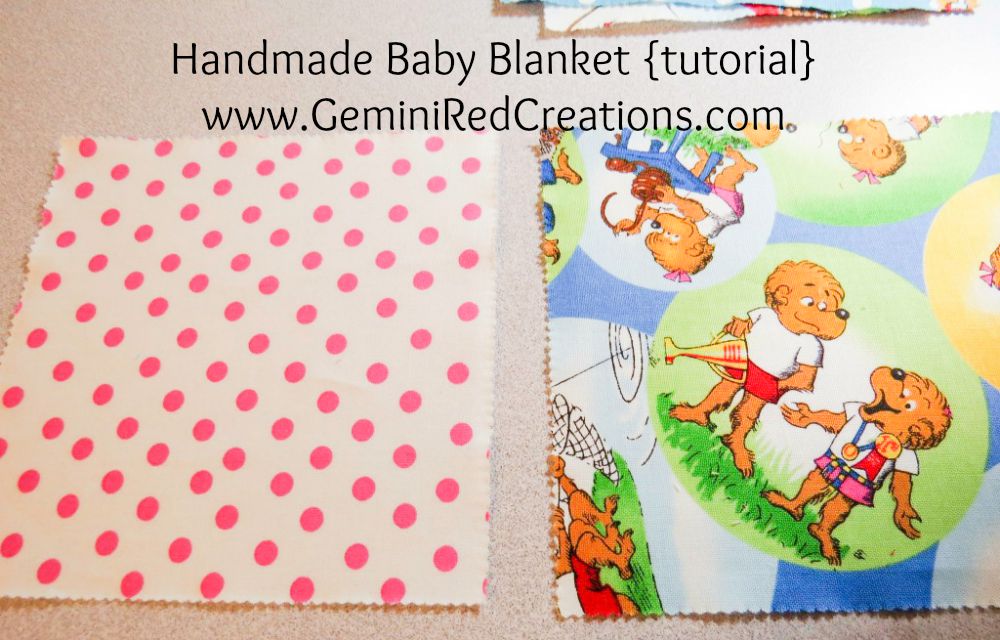
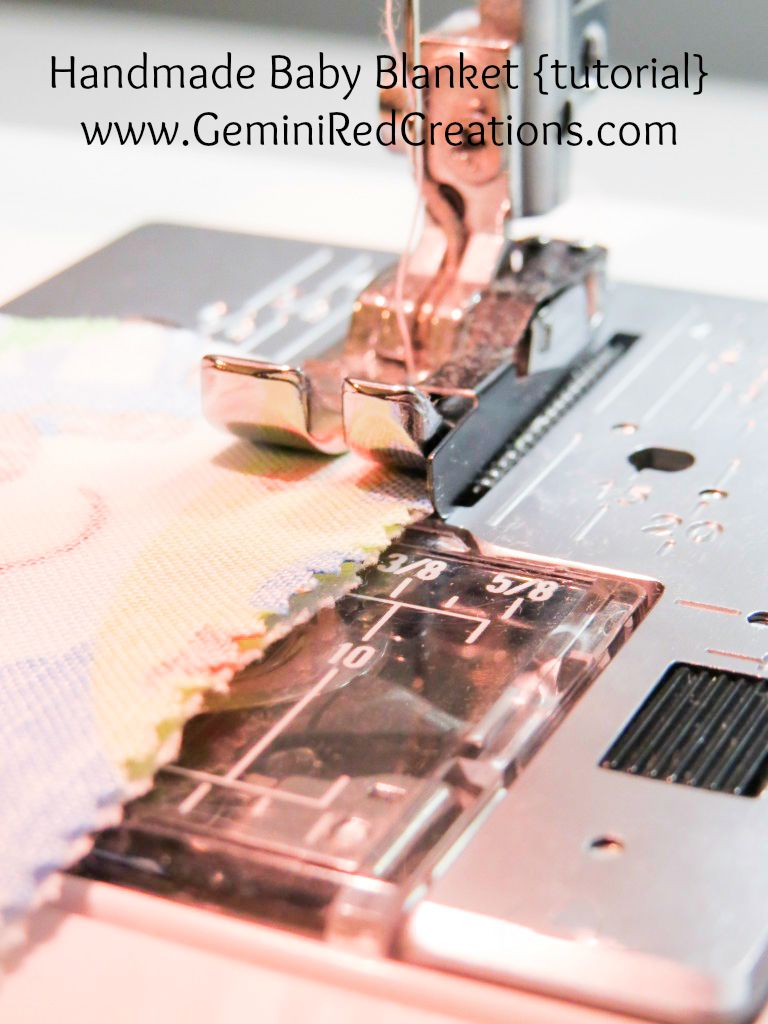
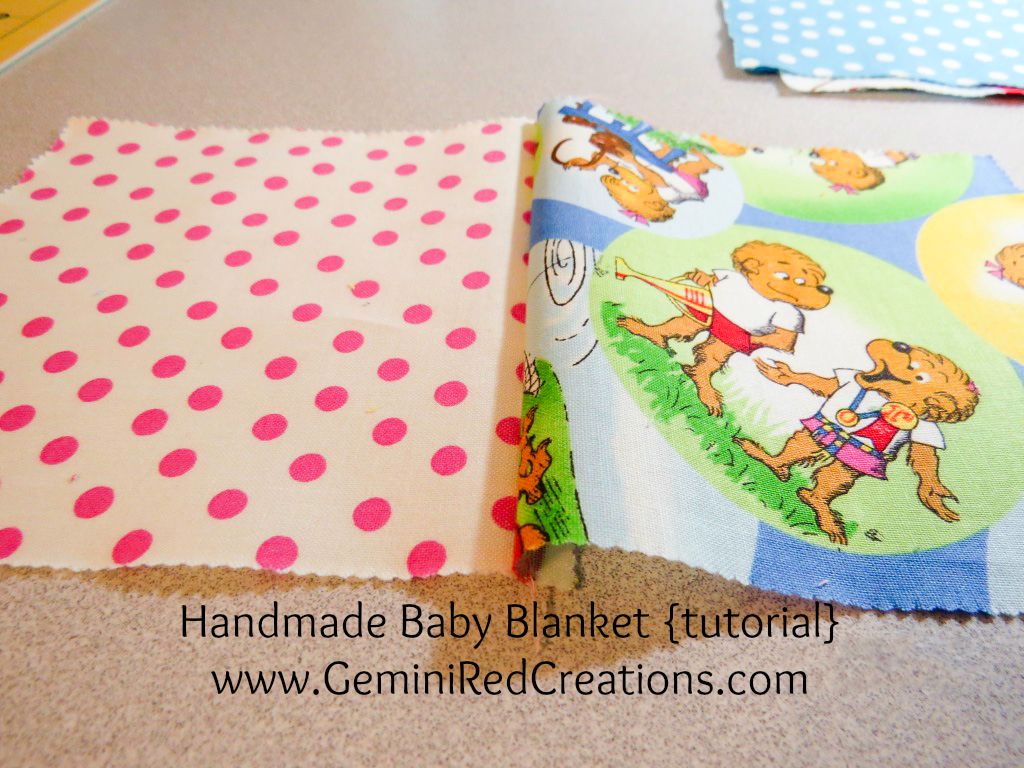
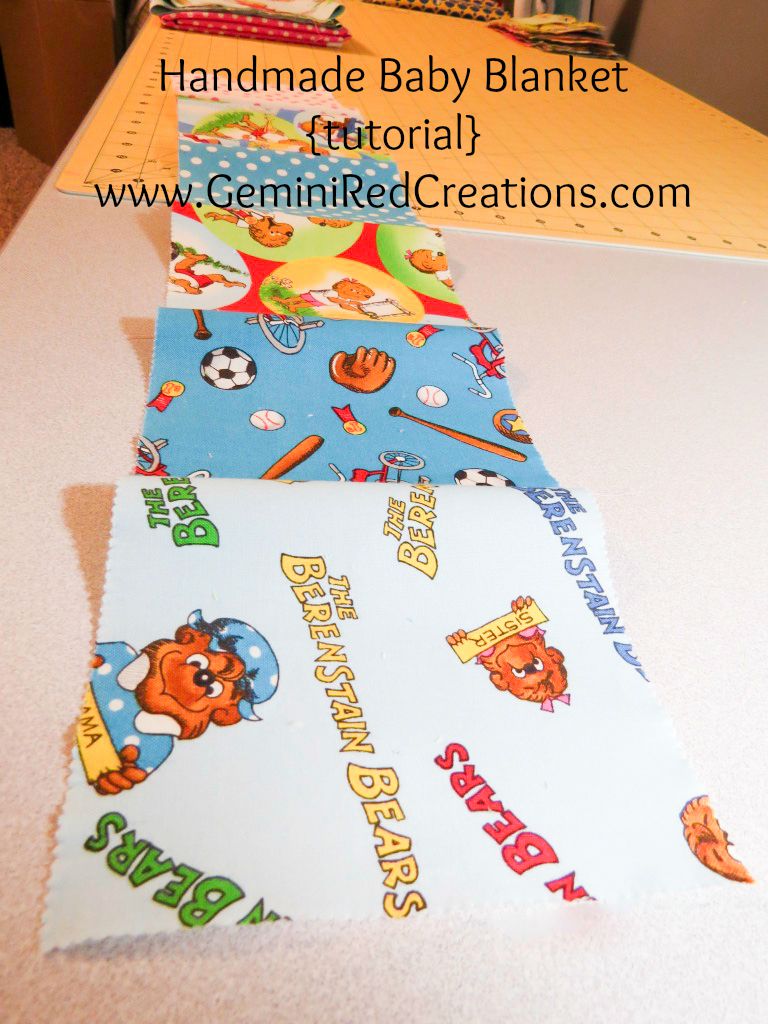
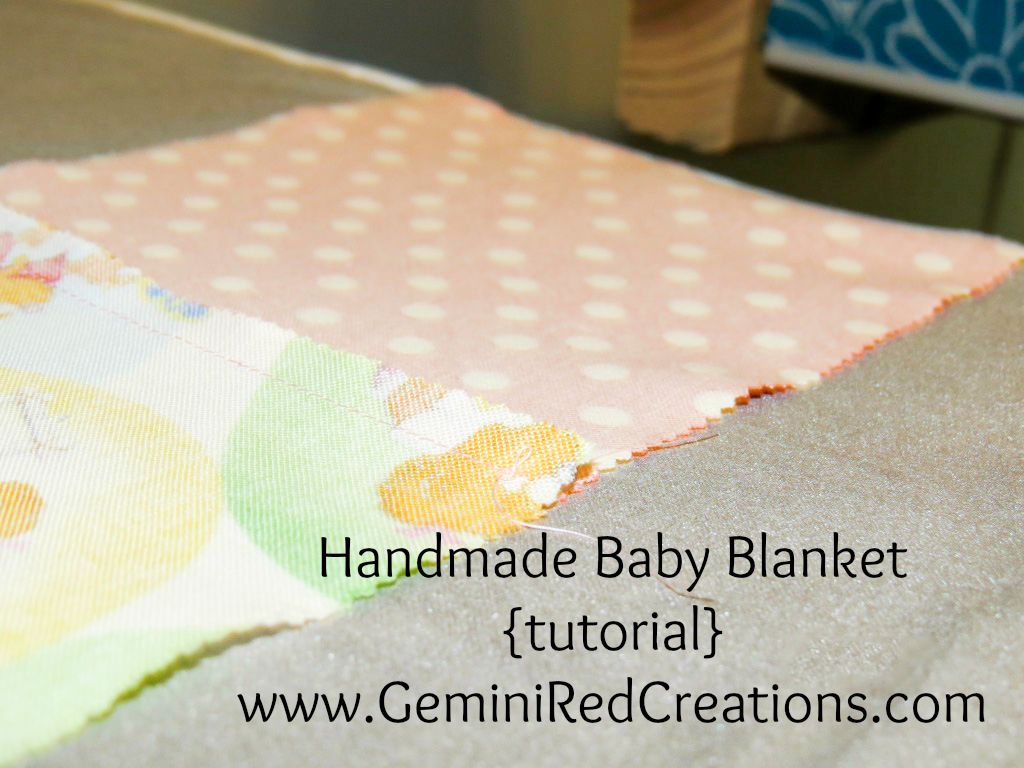
Step 3: Sew your rows together, use 1/4″ seam. Grab stack #1, take the top charm, lay it right side up, take the 2nd charm and lay it right side down on top of the first charm. Sew the right side of the charms, you want your #1 to open to the left. Note: I don’t pin here as they are small enough to keep together without pinning, but if you want to pin, that is fine too.
Repeat for each square in the row, keep the first one to the left.
Once the row is done, fold so that the stick note and pin are on top. Set aside, start on the rest of the rows.
Step 4: Iron the seams of each row you just did. To help reduce bulk, sew row 1 with the seams going to the right, sew row 2 seams to the left, sew row 3 to the right, and so forth.
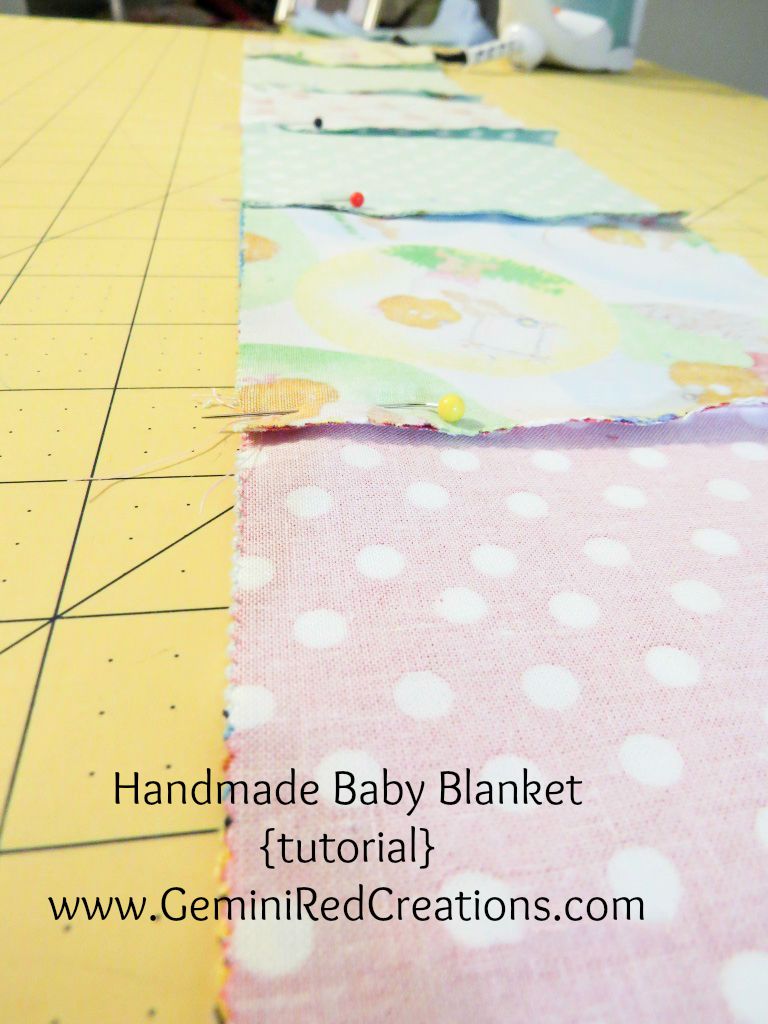
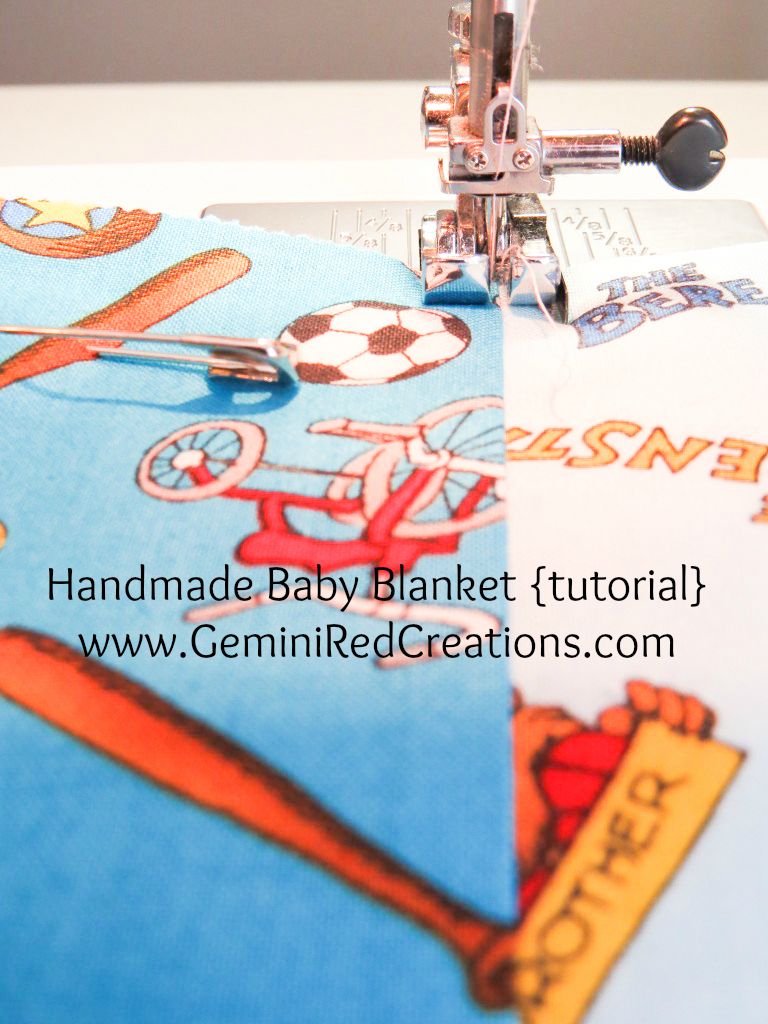
Step 5: Sew your rows together. Lay Row 1 right side up, lay row 2 right side down onto row 1 (make sure the sticky notes are on the same side). Match up the seams as best as you can. Pin at the beginning and at each seam. You can remove the #2 sticky note but keep the #1 in place. Sew your row using 1/4″ seam. Once done, you will now have 2 rows together. Repeat for rows 3 – 7, once done, you can remove all sticky notes.
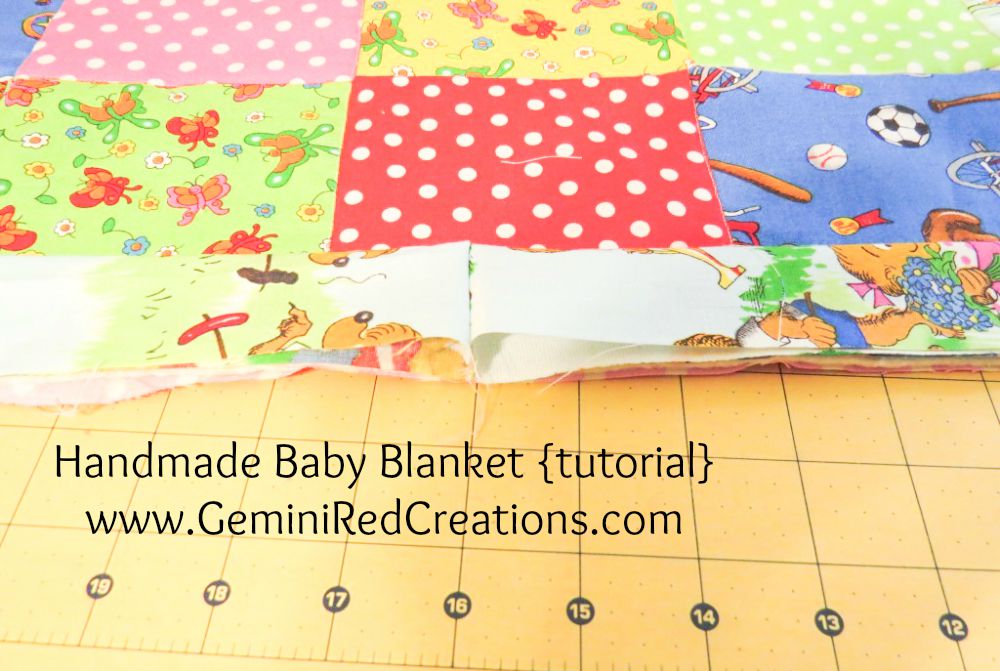
If you are a perfectionist, then this picture will frighten you. But as you can tell, not all my seams matched perfectly But I am ok with it as I think it adds character as it is handmade.
Now your quilt top is done!
Step 6: Set your seams. You will want to iron each seam to help set it and make it lay flat to help reduce bulk.
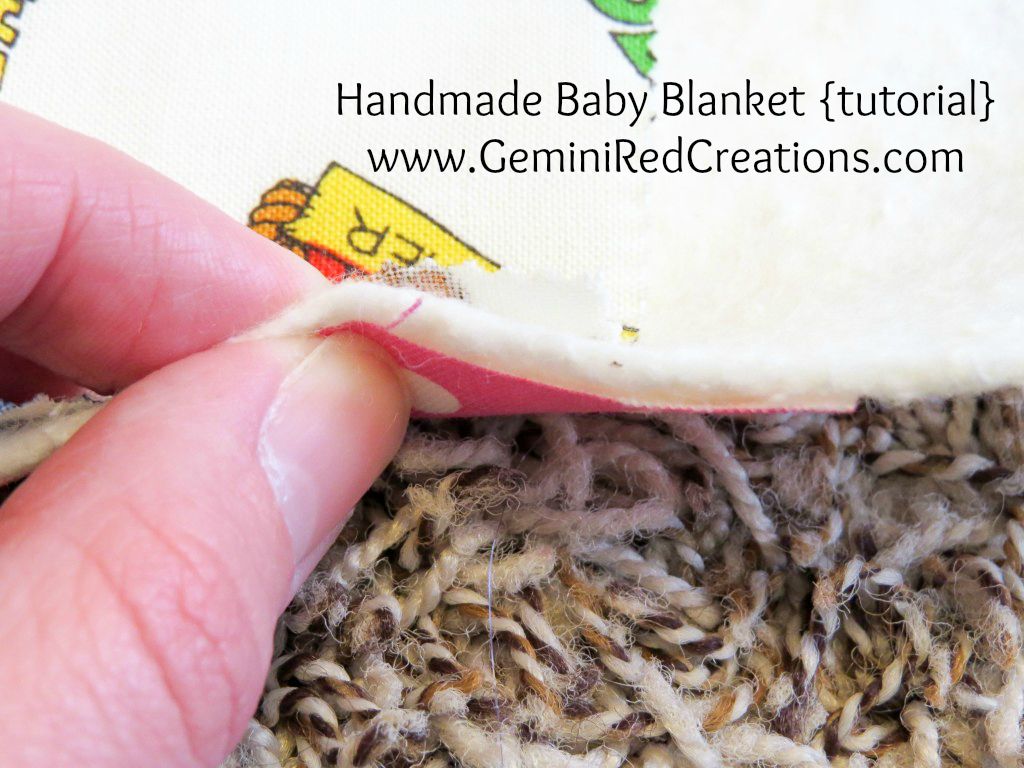
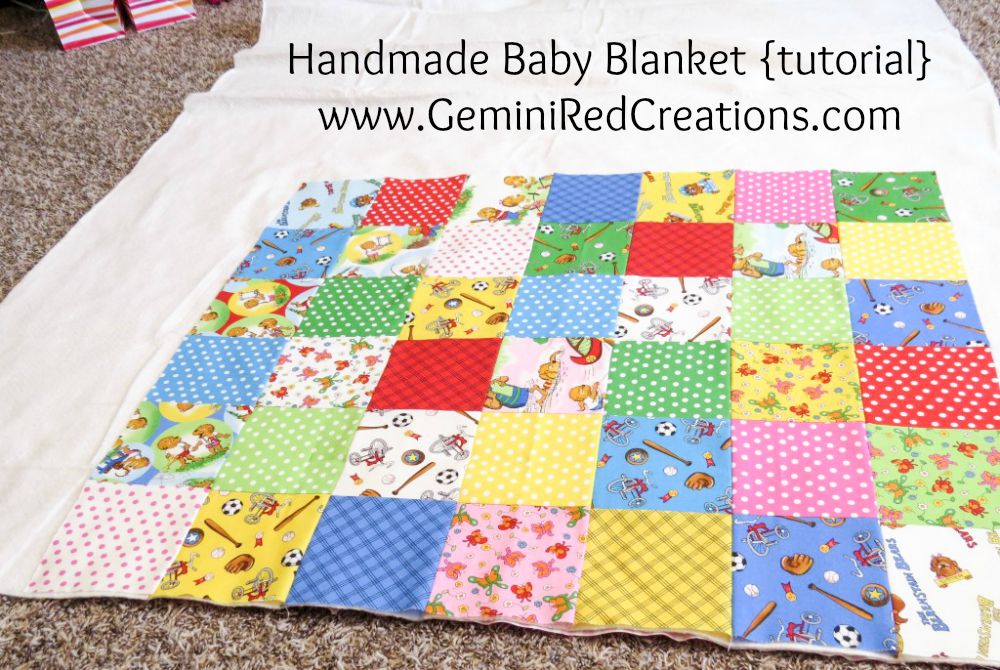
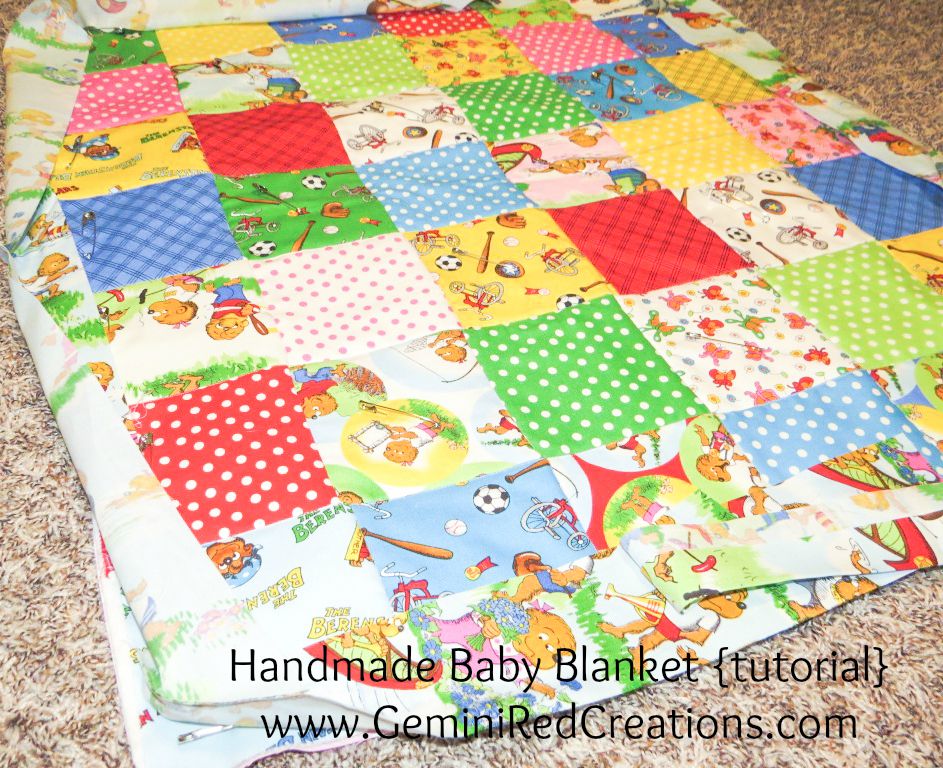
Step 7: Make a sandwich. No wait come back, I mean a quilt sandwich. 😉 I love Warm and Natural batting as it is warm yet thin to make it easy to sew. First lay your backing fabric right side down, then lay out your batting (smooth it out the best you can), then lay your quilt top right side up. Now you have a quilt sandwich.
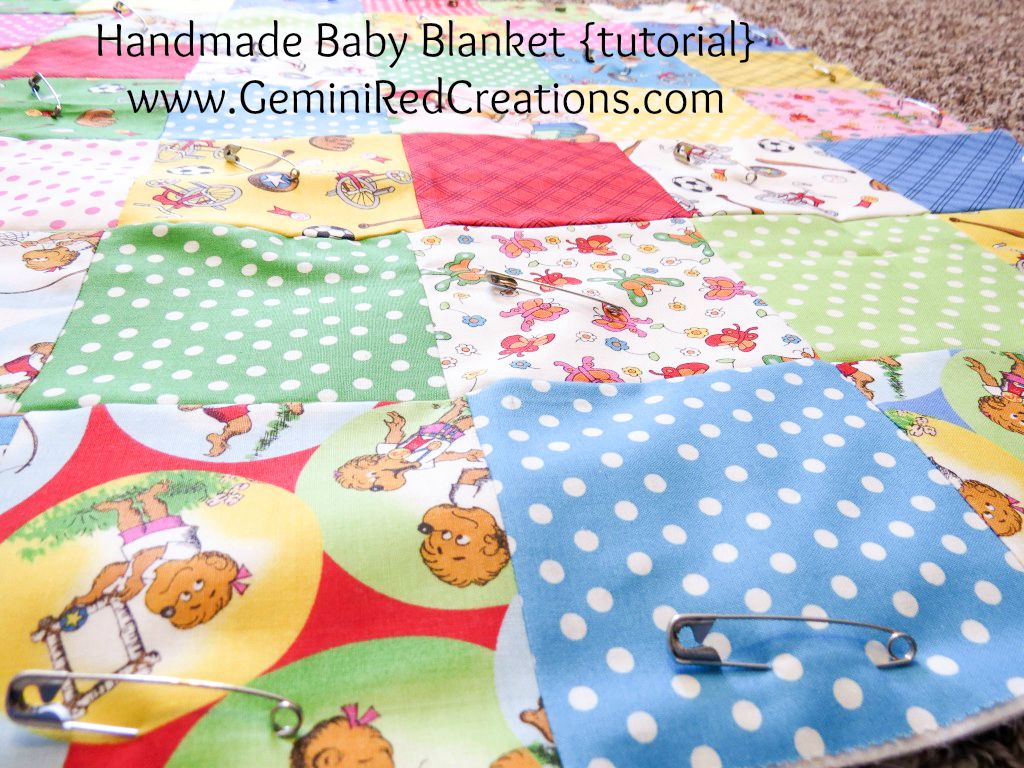
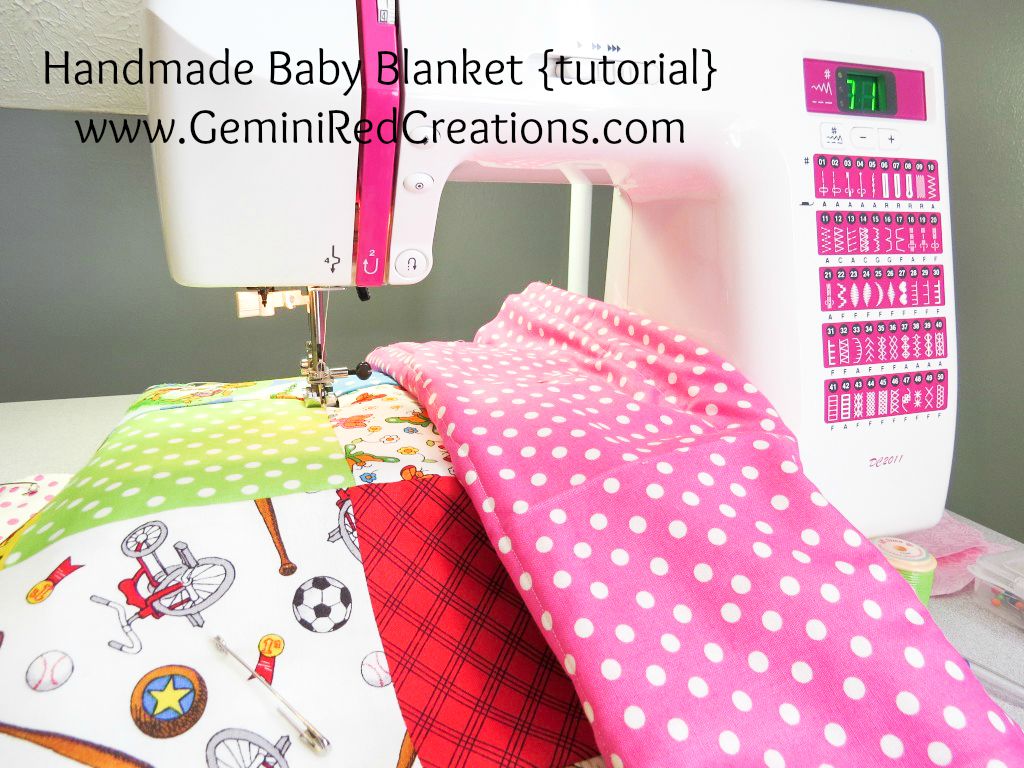
Step 8: Baste your sandwich…quilting term for PIN IT A LOT! I like to pin each square on the outside then alternate in the middle. You will need safety pins.
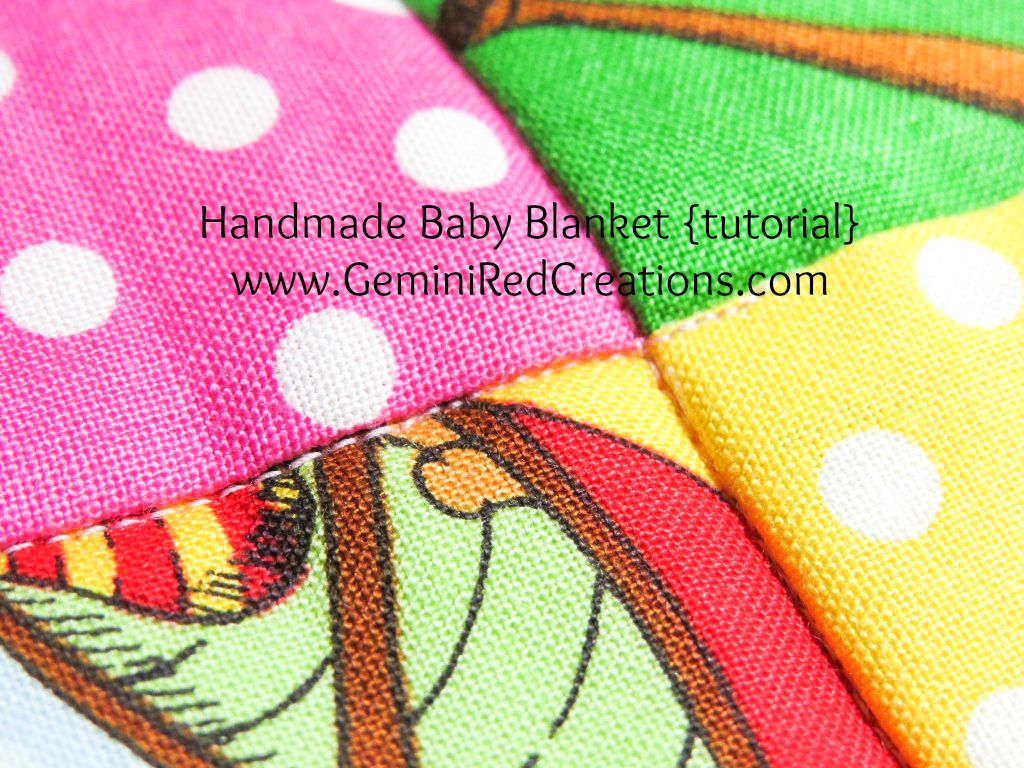
Step 9: Time to quilt the blanket. Now I will admit I am no good at free motion quilting so I stick with “Stitch in the Ditch” for my quilting. Which basically means sew as close to the seam as you can. I sew down each row and each column. So the back has squares on it as well.
Just fold your blanket after each row/column.
Your “Stitch in the Ditch” quilting.
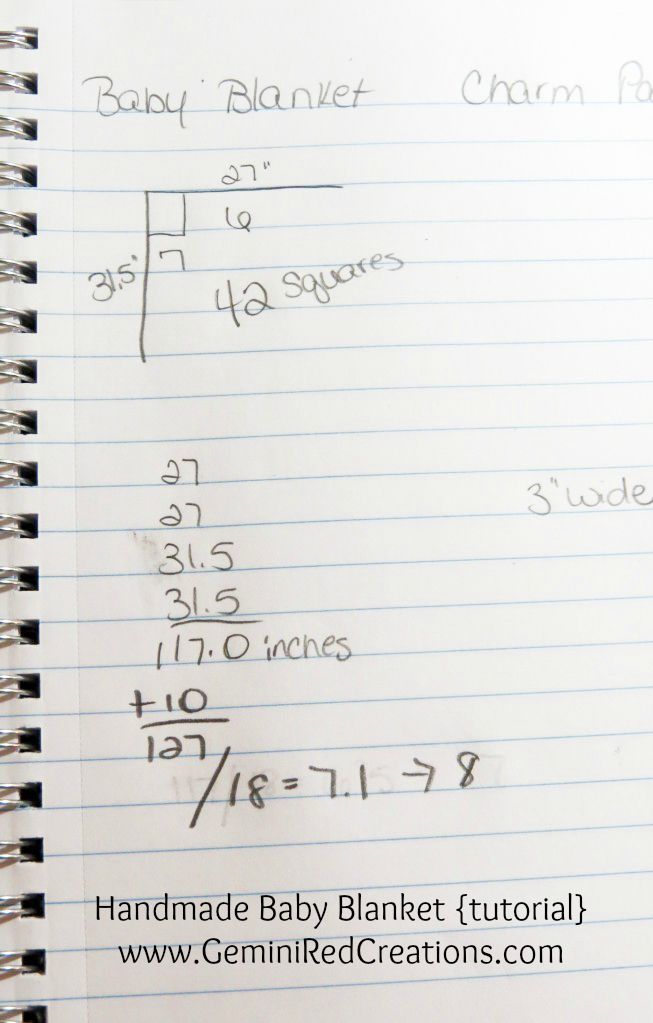
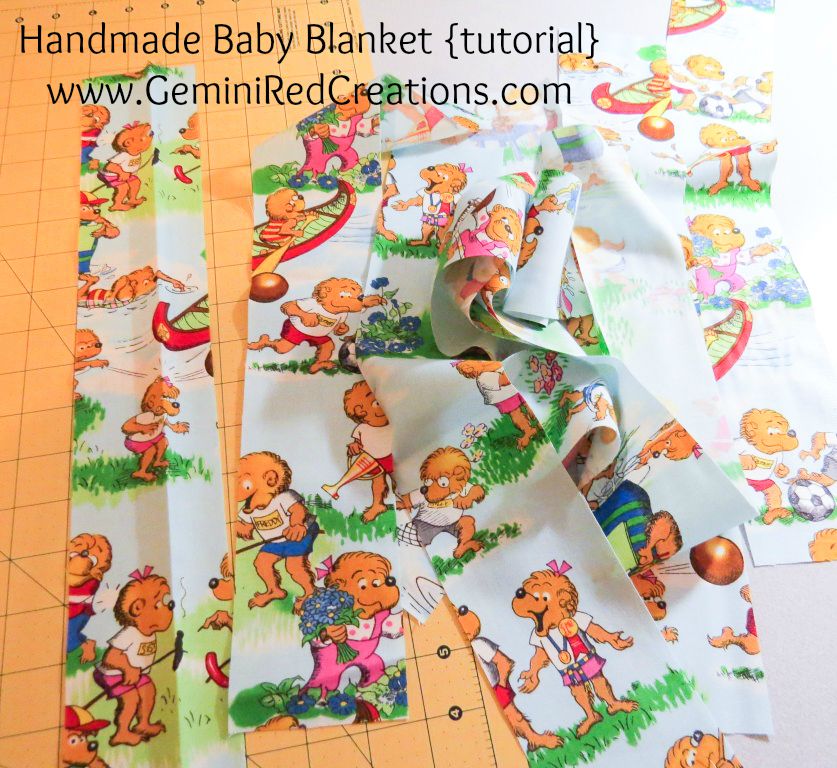
Step 10: Figure out how many strips you need for your binding. I like to use the Robert Kaufman app on my phone to help with this but if you don’t have a smartphone, you will want to measure your width and your length, take the width x 2 + length x 2, add 10 to that total to give a wiggle room for the ends. I need 127″ of binding. And I like cut my binding at 3″ wide (this is a personal preference so find what you like. I just like the extra on the back.). For 127″ of 3″ wide binding, I will need 8 strips from my 1/2 yard fabric. So once you know how many you need and the width you want, start cutting your strips.
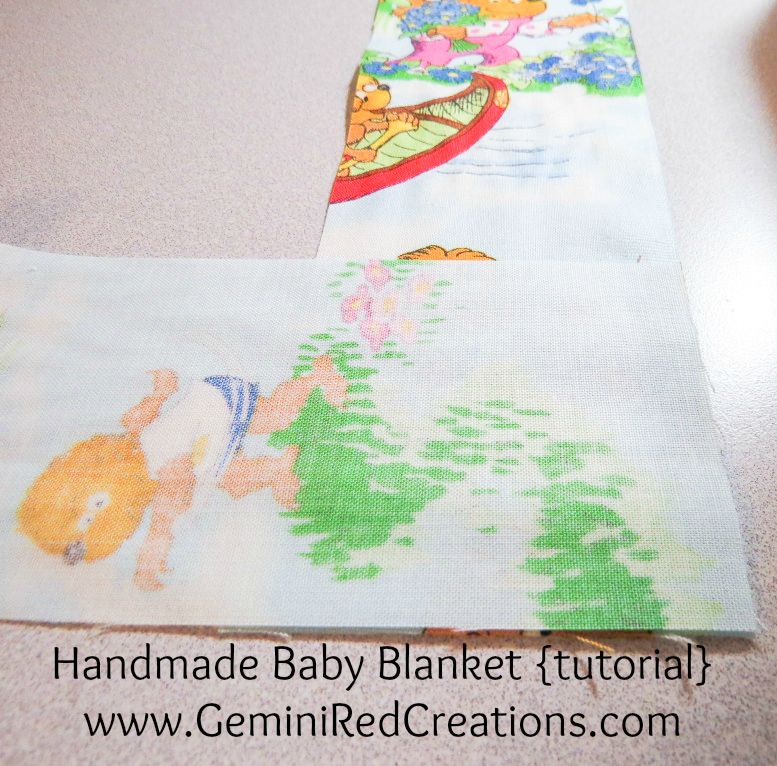
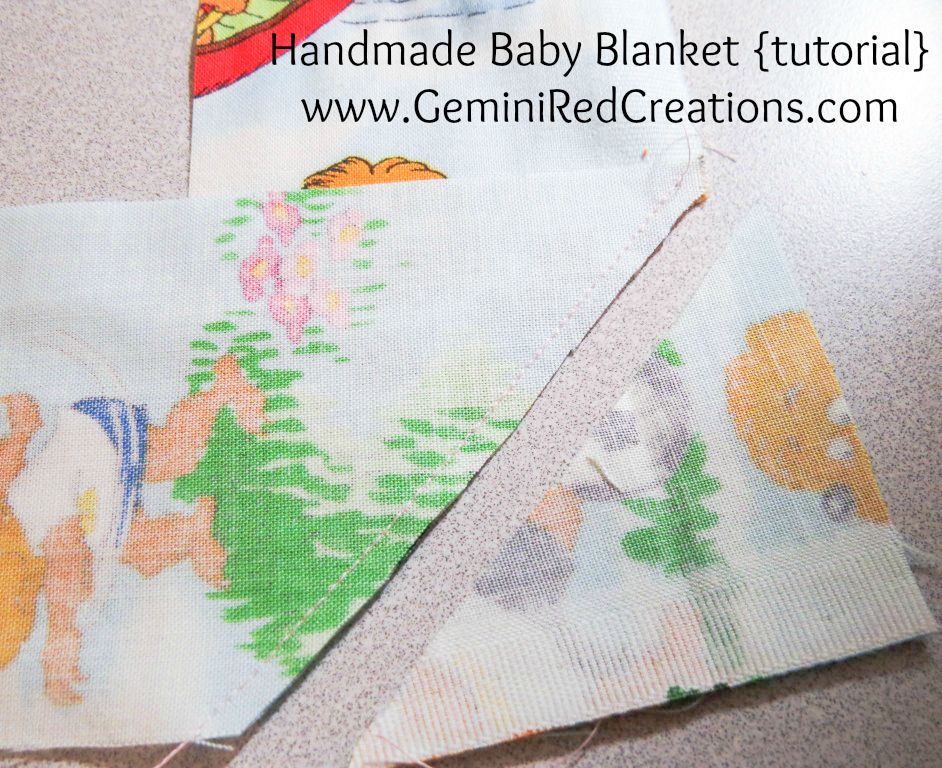
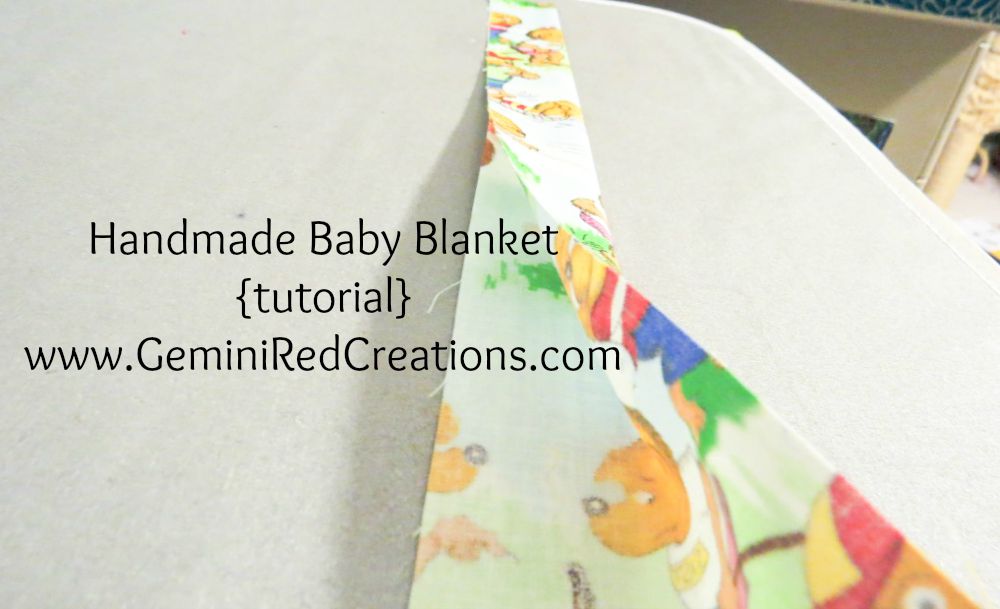
Step 11: Sew your binding together. You will take one strip, lay it right side up, laying longways, take another strip, lay it right side down, laying it to the left. Sew at a diagonal from the top right to the bottom left corners. Trim off the excess.
Repeat Step 10 until all strips are sewn together.
Once all strips are sewn, lay them out along the edge of your quilt to make sure you have it long enough. You want at least 10″ to 12″ excess. If you need more strips, add them now.
Step 12: Iron your binding. Fold your binding in half, wrong sides together. Iron.
Step 13: Attach your binding to the top of your baby blanket. Start in the middle of your blanket.
Match up the raw edges of your binding and blanket, leave about 6″ excess, pin in place. Sew 1/4″ (leaving the 6″ unsewn).
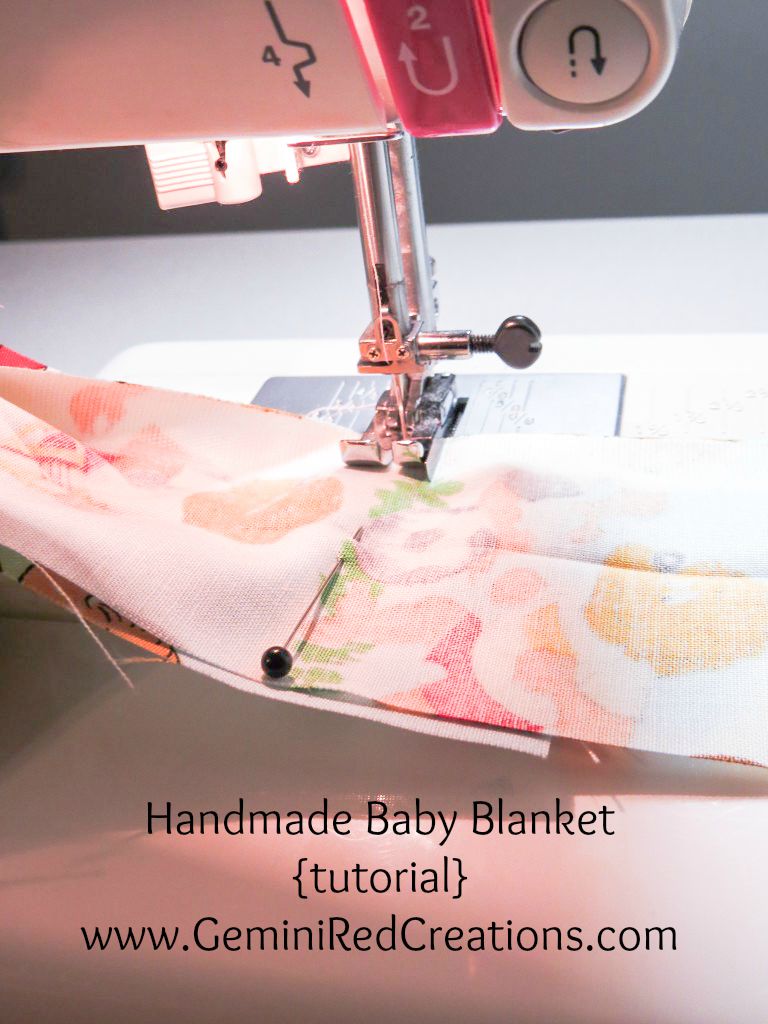
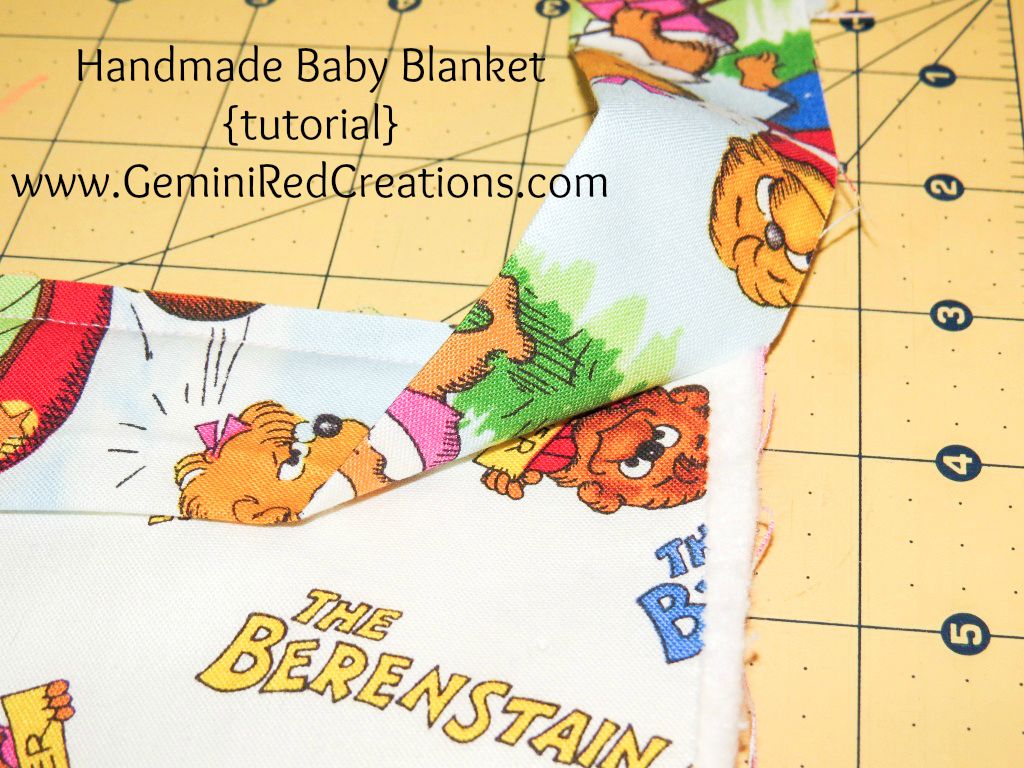
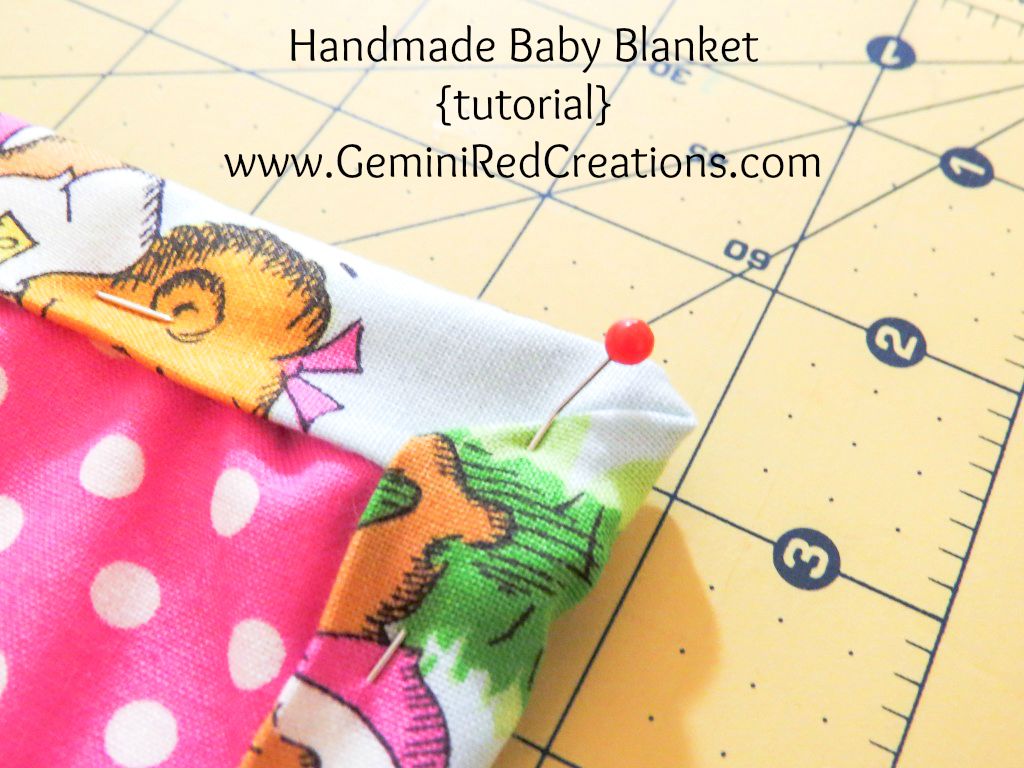
Now you want to fold the binding up at the diagonal seam, then place your finger on it and fold back down along the blanket. You want to make a little “square” fold. Pin in place all the way down the blanket side. Again STOP 1/4″ from the end and do a diagonal seam. Sew the binding on using 1/4″ seam. Be sure to backstitch at the beginning as the corner needs the extra stitching to help with the wear of it. Repeat this for the remaining sides. On the last side, again leave 6″ excess unsewn.
Step 14: Finishing the binding. Once you have 6″ excess on each end you will want to unfold the excess, and place right sides together. Pin where the sides meet at the blanket. Sew a straight line where the pin mark is. Trim the excess. Now you have a flat laying binding. Finish sewing the binding down, backstitching at the beginning and end.
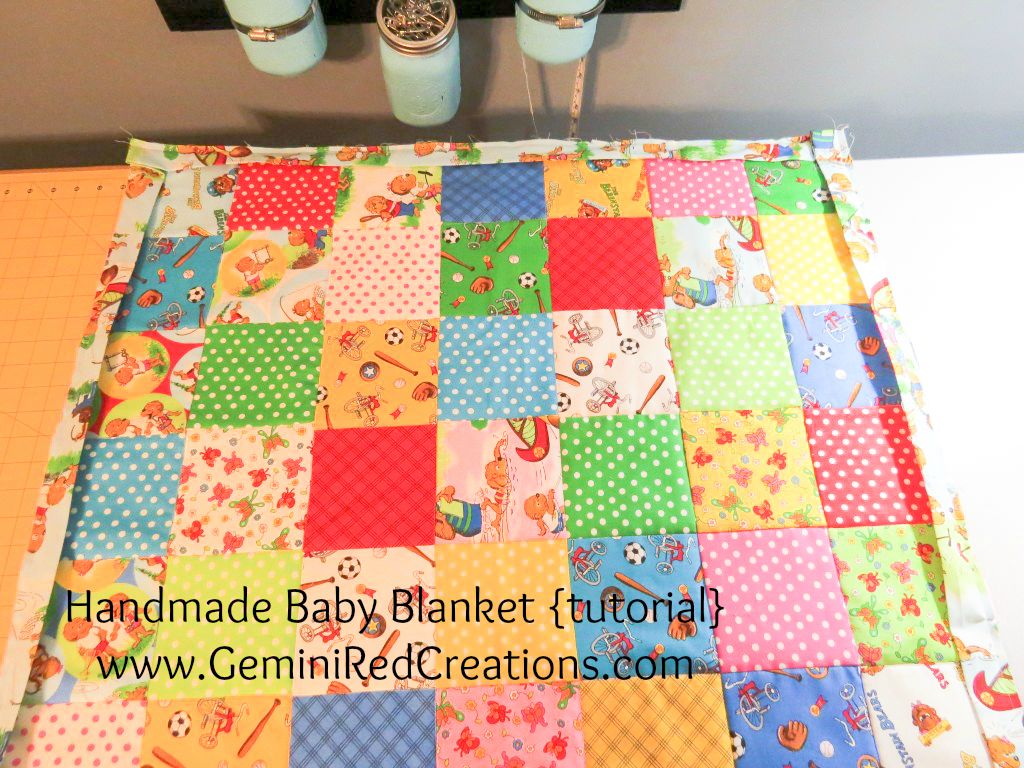
Your blanket should look like this now.
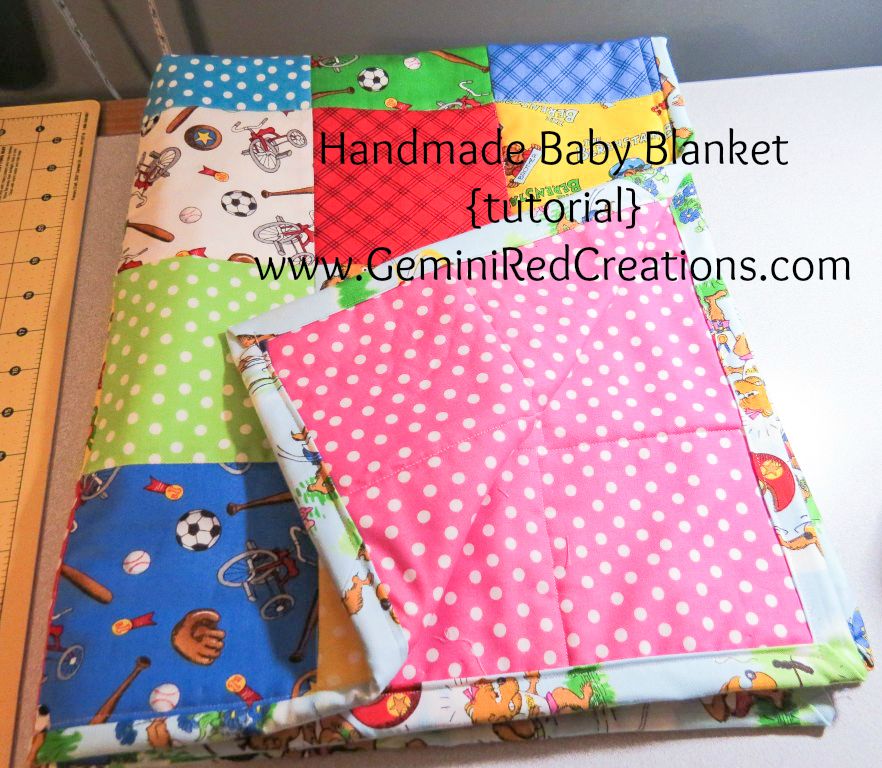
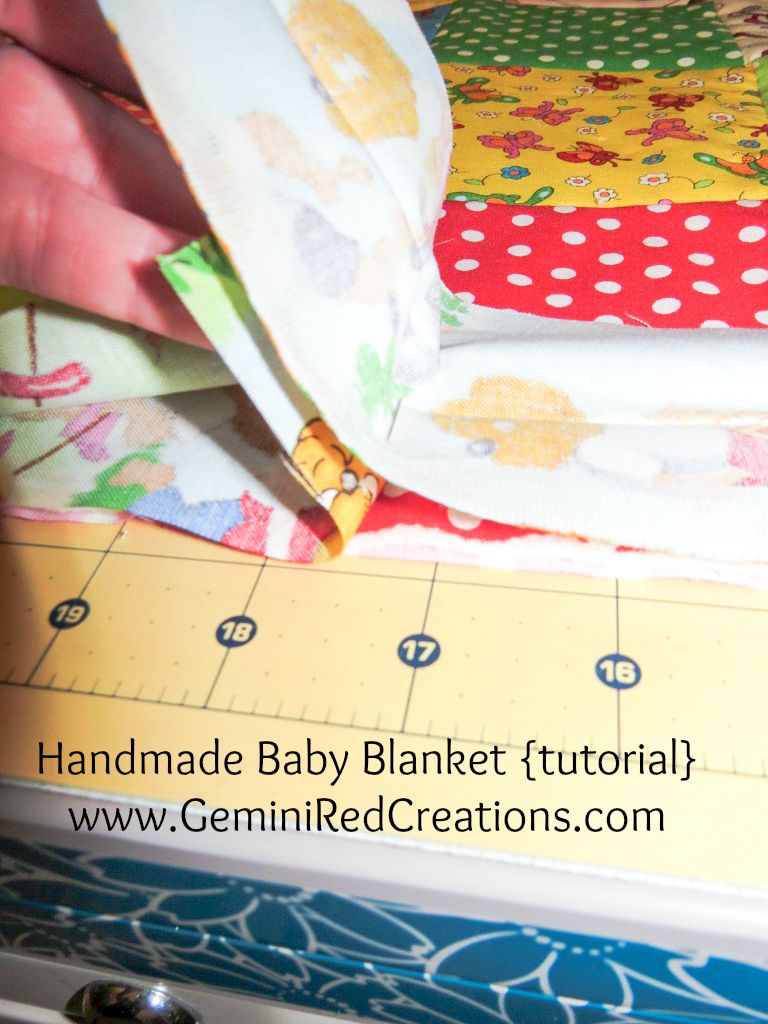
Step 15: Finish the blanket. You will want to flip your blanket so the backing is up. Now fold over the binding you just attached. And pin in place ALL THE WAY AROUND. At the corners, fold one side under and the other side over, it will look like this at the corners.
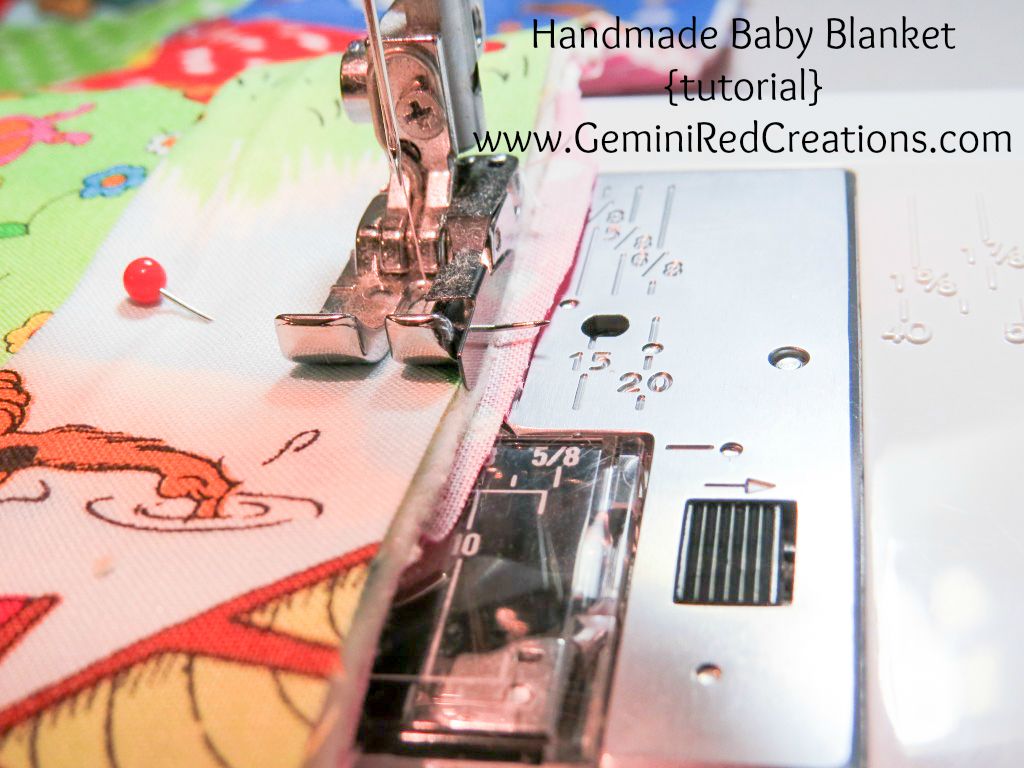
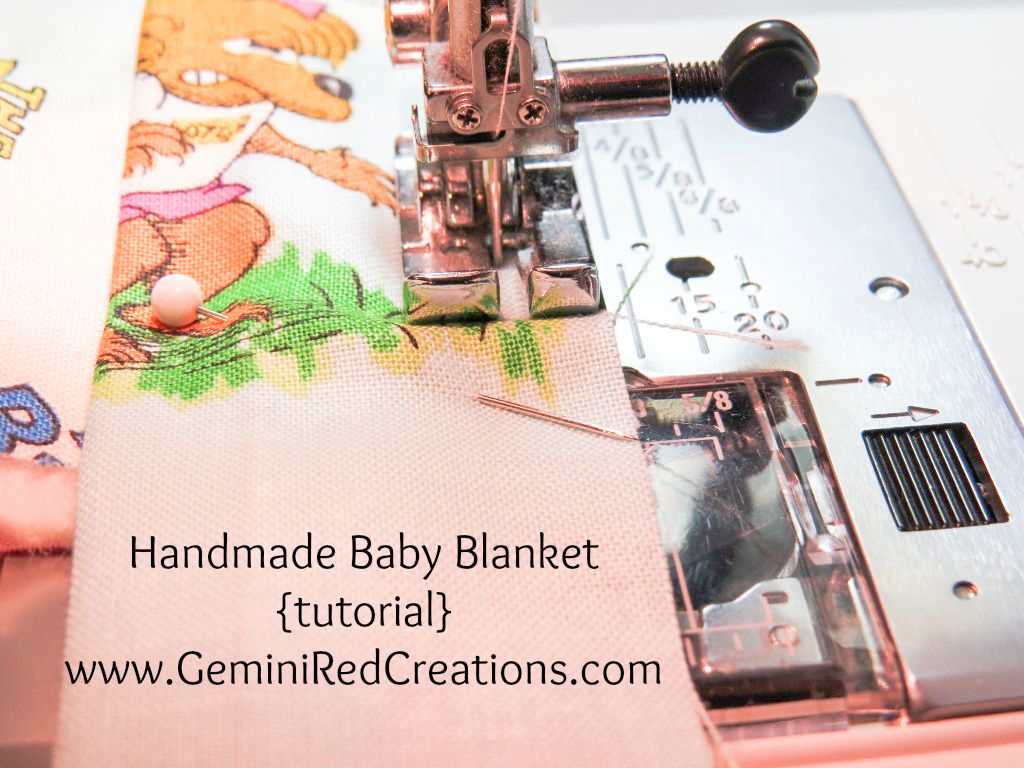
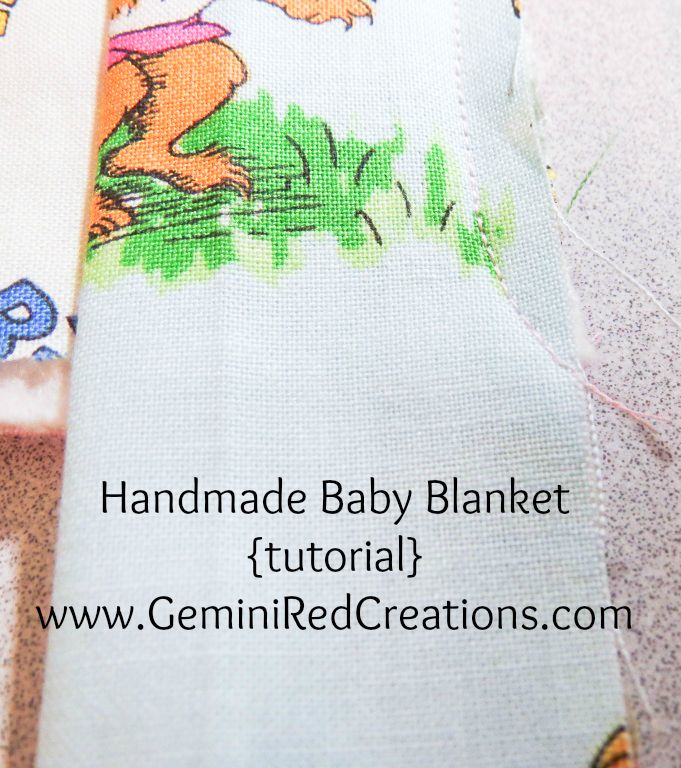
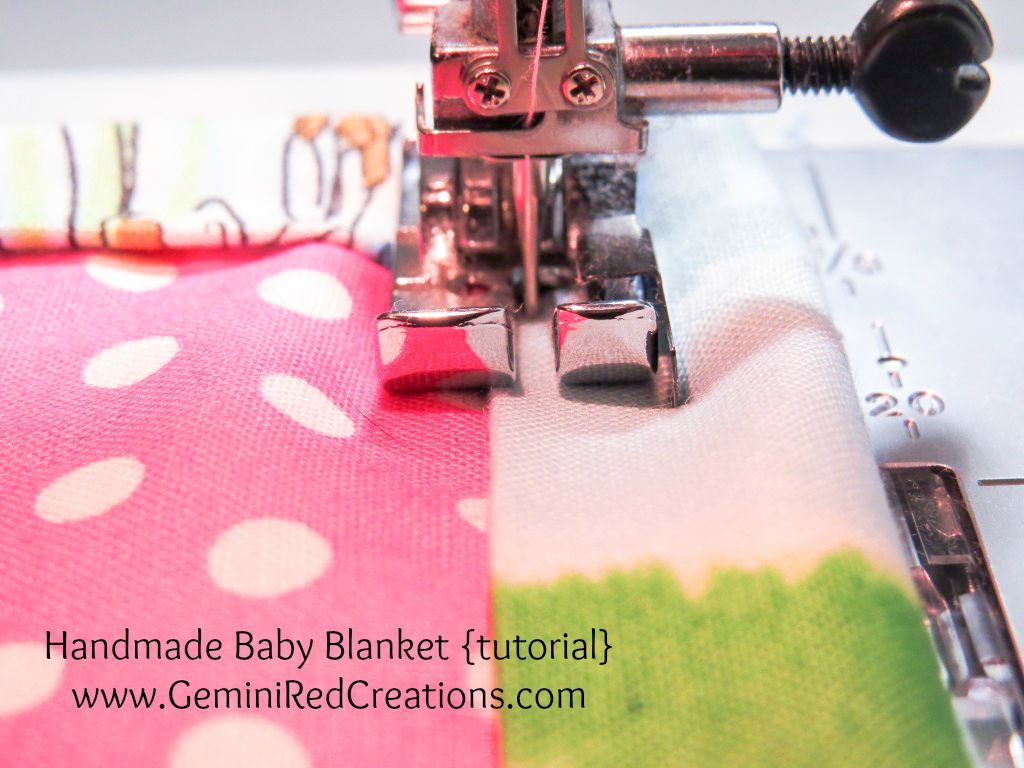
Sew the binding on. Stay close to the edge as you can. I use my sewing foot as a guide. Sew all the way around, backstitiching at the beginning and end. At the corners, just lower your needle, and pivot the blanket to the next side.
Once you get all 4 sides sewn on, your blanket is done and ready to enjoy!
Are you ready to try your hand at making a baby blanket?





Trackbacks/Pingbacks