My friend Amanda from Joyful Home Designs has two adorable children, lives in the mountains of North Carolina with them and runs her awesome business as well. She loves all sorts of crafting, and has been making things as long as she can remember.
Because of Amanda’s love of the holidays, she is going to show us how to make a GREAT banner for Halloween. It’s easy, fast, and you can even do it with little helpers.
PUMPKIN BANNER
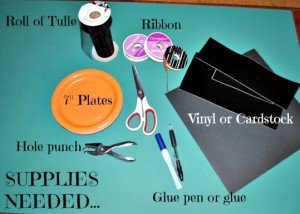
First, gather a few supplies:
*7” Orange paper plates – Wal-Mart for .97 (or any party or dollar store)
*Roll of black tulle – Also found at Wal-Mart, or any craft store
*Assorted ribbon
*Hole punch
*Scissors
*Black vinyl or cardstock
*Glue (glue stick, glue pen, whatever you have on hand)
*Sharpie Marker
***Optional – Silhouette Cameo. Not necessary but very handy!
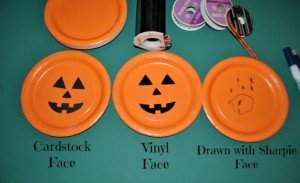
Next, get out your plates and decorate with faces! Happy, scary, surprised expressions – it’s up to you! For this project, you can try several options for creating the Jack-O-Lantern faces.
First, you can try cutting out card-stock, (using an image you find on Google for a template) then glue the pieces to the plate.
Second, if you have Silhouette software you can cut out the face in black vinyl using the Silhouette Cameo (or Portrait), then applied the vinyl to the plate. If you aren’t familiar with the Cameo and you are a hardcore crafter – you should really look into it. You can do so much with it!
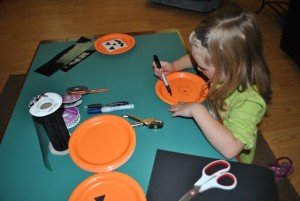
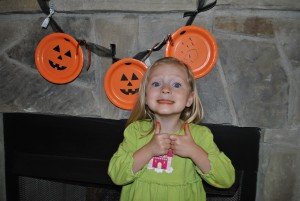
Third, you can have your special helper decorate a face by using a Sharpie marker. This adorable little helper was very proud of her work!
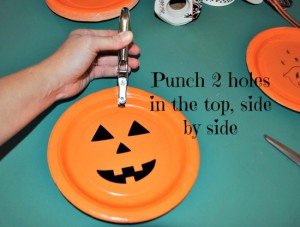
After you have decorated the faces for your Jack-O-Lanterns, you will want to take your hole punch and make two holes in the top of each pumpkin.
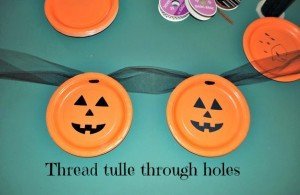
After punching the holes, thread a length of black tulle through the holes until all the pumpkins are strung on the banner.
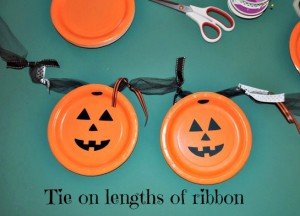
Now, add ribbon! Use different colors and prints to make it really festive, or you can leave it out for a simple look.
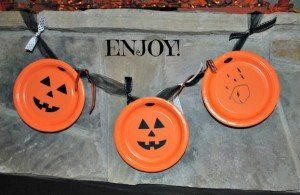
That’s it! Hang up your banner and celebrate with some Jack-O-Lanterns that you can keep year after year.
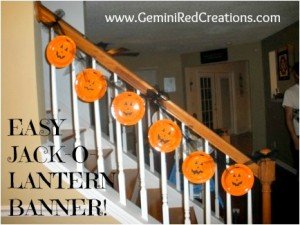
Here’s a version with no ribbon accents.
I love this project for so many reasons! It’s easy, inexpensive, and you don’t need special equipment or hard to find items. Little helpers can easily participate, and there are SO many different ways to customize this banner. Instead of pumpkins, why not try using black plates and adding google-y eyes, ears, and whiskers for a black cat banner? Or, use white plates to make eyeballs, or mummies. You could even use green plates for a Frankenstein banner. Hopefully you all will enjoy this great project that you can make with your kids.
And, one last picture of Amanda’s little helper…
Have you made any fun holiday decorations with your kids?

