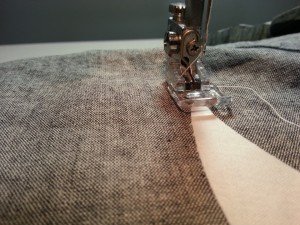
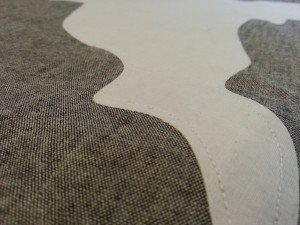
For all you Halloween lovers out there – I’d like to share this great tutorial from my friend Sabrina over at Hugs & Love by Sabrina. This tutorial uses a Silhouette Cameo, but if you are artistic at all (unlike me) you can sketch and cut out your own ghost. You will want to get started on these cute pillow covers early because there is no doubt your friends will be asking you to make them some.
Supplies needed:
Fabric for pillow cover (amount will be determined by the size of your pillow)
Fabric for applique
1 – Zipper – matching in color to main fabric, length would be determined by size of pillow
Matching thread for main fabric and fabric for applique
Scissors or rotary cutter
Image for the applique (this tutorial uses a ghost found on the Silhouette Online Store)
Heat n Bond Lite (sewable)
Pillow insert
Iron
Sewing machine
Zipper foot
Gather your supplies and get ready for a fun project!
Step 1: Cut out two (2) squares using your main fabric – I cut out 14 ½ inches. 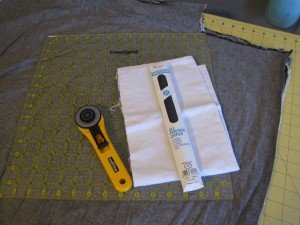
*NOTE* If you like a fuller pillow, cut your squares an inch smaller than your pillow insert.
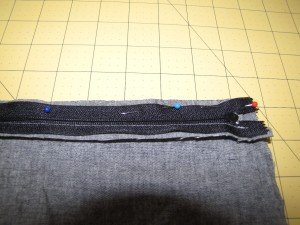
Step 2: Lay the zipper, zipper down, on the wrong side of the main fabric. Pin in place.
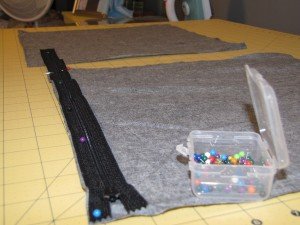
Step 3: Sew the zipper on. Using a zipper foot will make this easier. If you do not have a zipper foot, be sure to get close to the teeth of the zipper, but not too close as to break your needle.
*NOTE* To sew past the zipper pull, put your needle down, twist the fabric and zipper around to the front and move the zipper pull to the other side of your stitching line.
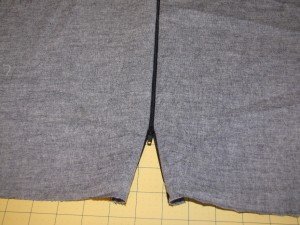
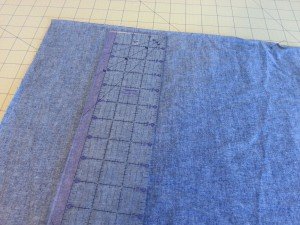
Step 4: Attach the zipper to the 2nd piece of main fabric. Lay the 2nd piece of main fabric down, then place the other size of the zipper on top. The piece you just sewed will be folded slightly. (See picture). Pin in place. Sew zipper on the same way as before, moving the zipper pull when needed.
When done, your pieces should look like this:
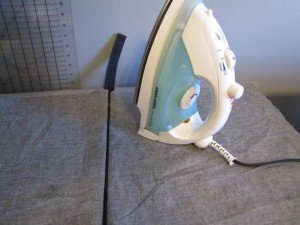
Step 5: I like to iron mine flat now, this is optional but recommended.
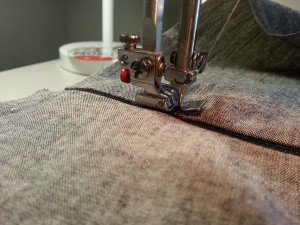
Step 6 (optional): Topstitch the zipper. I like to topstitch as it gives a more finished look and it keeps the fabric from being caught in the zipper later on.
Step 7: Cut out and apply the applique
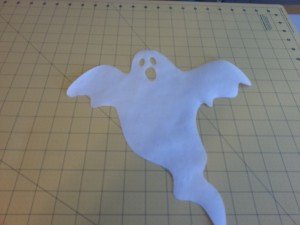
I used my Silhouette Cameo to cut out the ghost shape. If you do not have a Silhouette, you can Google a ghost image to trace.
You will need to determine how big you want the image.
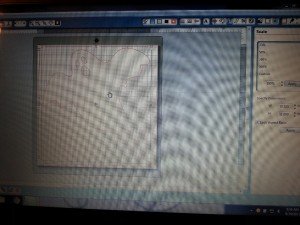
If you use the Cameo, you can resize the image using Silhouette Studio:
Once you determined the size you want, cut the applique fabric for the size needed.
Iron the Heat n Bond Lite to the back of applique fabric.
*Note* Be sure it says sewable so your needle does not get sticky.
Cut out your image, either by Silhouette or by hand.
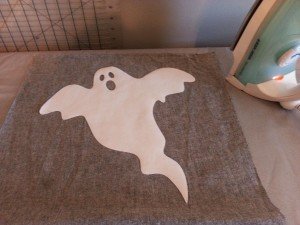
Place the appliqué on to the pillow cover where you desire, then iron in place.
Now you are ready to topstitch the appliqué in place. I used matching white thread. If you have an appliqué foot, it would be wise to use it now as it helps see your appliqué better.
Topstitch the entire applique. I like to start at the bottom and work back around.
Step 8: Finish the pillow cover
UNZIP the zipper halfway (this is very important so you can turn the pillow right side out). Place the wrong side of the main fabric face to face. The zipper teeth need to be facing out towards you. Pin around the entire cover. Sew around; I use ¼ inch seam, back stitching at the beginning and end.
*NOTE* At the corners, put your needle down and turn your fabric to sew the next side.
Step 9: Trim corners
Step 10: Turn right side out through the opening of the zipper. Poke out the corners, put in the pillow insert.
If you need a replacement mat for your Silhouette Cameo or replacement blades – check out the great deals on Amazon.
ENJOY your new pillow cover!!
Do you have any favorite Halloween sewing projects?


