Happy first day of Autumn!
I’m so happy to have Deanne here from 2RusticPlace with another wreath tutorial! In case you missed it, Deanne shared a great Halloween wreath tutorial previously.
Who doesn’t love flowers!?! I mean they can brighten up any day, smell delicious, and are great for decorations of any kind. Well, Deanne is going to show you a quick and easy tutorial for flowers using her favorite material…Burlap! Unfortunately these don’t have a flowery smell, (unless you spritz with grandma’s perfume).
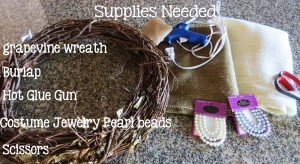
All you need for this project is-
½ yard burlap (I had some scraps and used multiple shades of neutral)
Grapevine wreath
Hot glue gun
Scissors
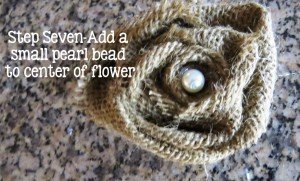
Optional-custom pearls (found them for .99 at hobby lobby)
Felt to apply to back of flower
I have figured out a neat trick to avoid shedding of the burlap. For this project we need about 3 inch wide strips by 24 inch in length. Cut a small cut where the three inch mark is on the burlap. Next take the string that is where the cut mark it. Pull the string out (it can get stuck sometimes, pull hard)
(Ignore my lackluster manicure, I am lucky I have time to wash my hair with a toddler around).
Once you pull the string out, you will be left with a clean, straight line of where to cut the burlap.
Cut out the 3”x 24” strip and lay flat on counter. Here is where we start the flowers!
Fold the end of the strip in half
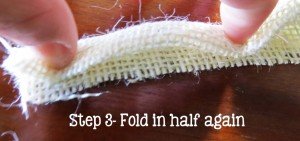
The fold in half again
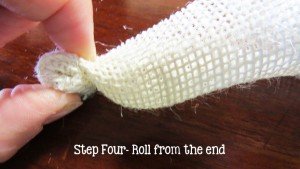
Now we can start rolling from the end
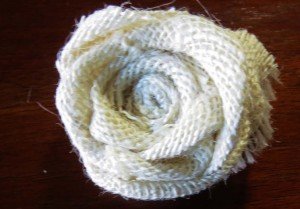
The rolled part is the center of the flower. Once you get a size about the size of the picture above, you will just loosely twist and wrap the remaining length of the burlap in a circular motion around the flower. The twisting creates the petal look.
Once it is wrapped it should look similar to this
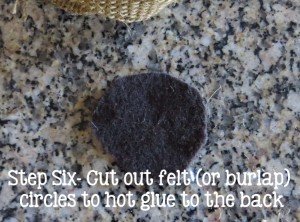
Next, I cut out circles of felt (you can also use pieces of burlap) to hot glue onto the back of the flower so it is easier to adhere to the grapevine wreath
Hot glue is your best friend! Do not be afraid to put a lot on. What happens is the glue actually holds the flower together by falling into the crevices of the burlap. Just don’t put so much that you can see it once the felt or burlap circle is applied
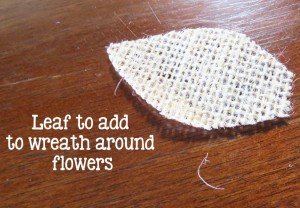
Since I am putting these on a wreath, I wanted to add a little something to make it fuller. I cut small leaves out of scraps of burlap to add to the wreath.
Now the fun part…attaching to the wreath! I used hot glue, but you can also use floral wire if you want them to ever come off
And here is the finished project!
Have you created any wonderful burlap crafts?


