It’s almost Valentine’s Day and you are probably trying to come up with an idea of what to give your special someone. A Love Coupon Book is always well-received! So, how about a Print & Cut with your Silhouette Cameo tutorial so you can make your own!
Today, Jessica from Fresh-Squeezed Flair is here to share her Cameo expertise with all of us and show us how we can make this great coupon book. Keep the tutorial handy – you may find other reasons to make a coupon book besides Valentine’s Day.
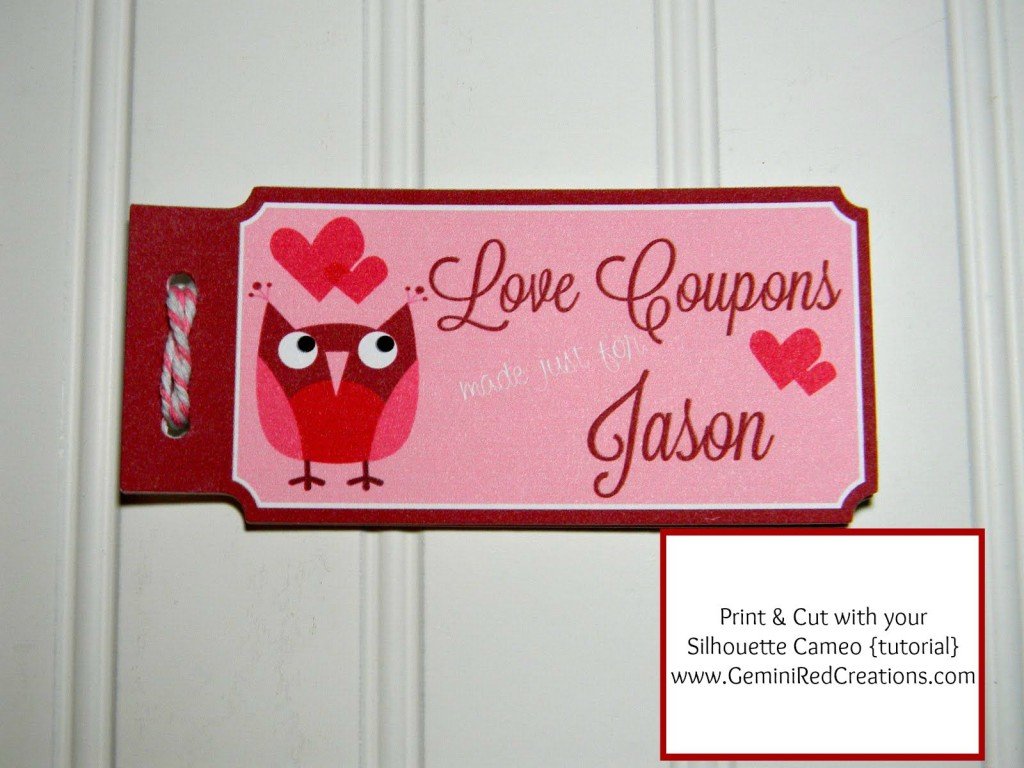
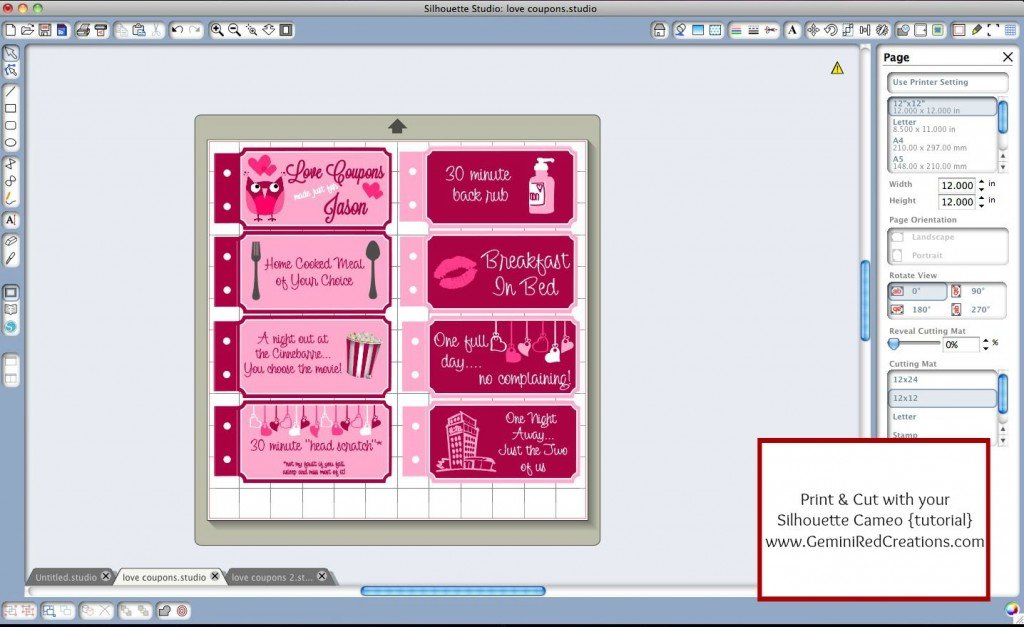
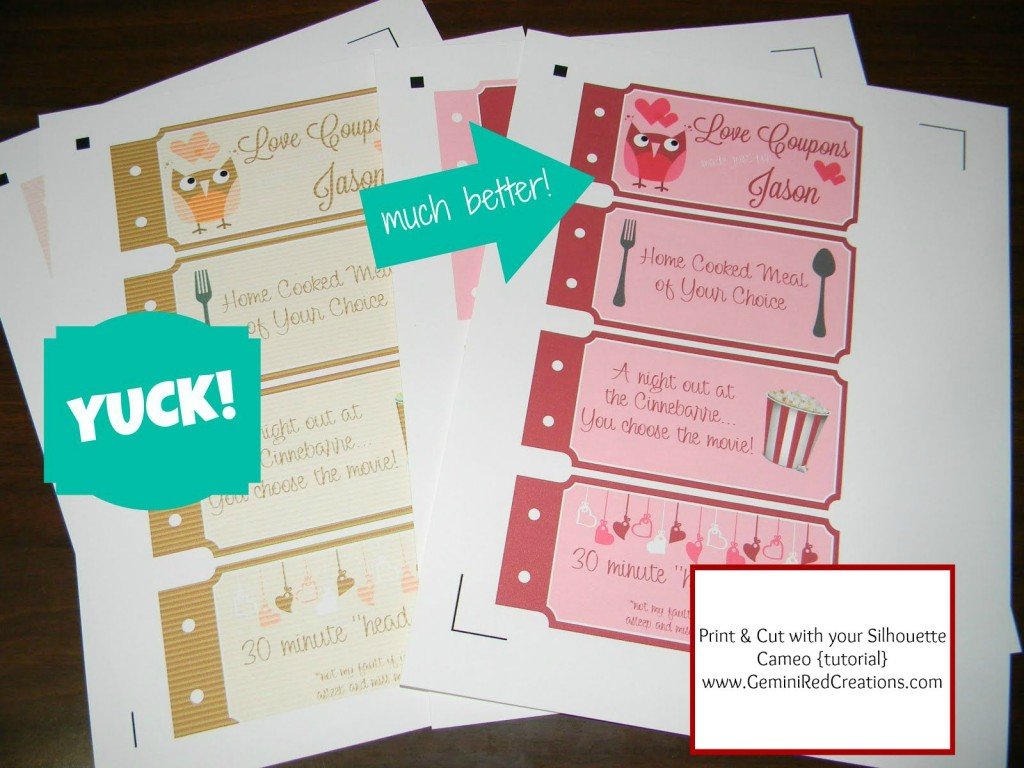
A lot of people know that a Cameo can cut all types of paper, vinyl, and fabric….but there is a very underutilized feature out there! It’s called “Print and Cut” and it is A.M.A.Z.I.N.G. You can make awesome stickers, cards, tags, and much more! All you have to do is design something in the Silhouette Studio, send it to your printer, and your cameo will automatically detect it and cut it out for you! Today I will be making some love coupons just in time for Valentine’s Day. This is the set that I came up with for my husband:
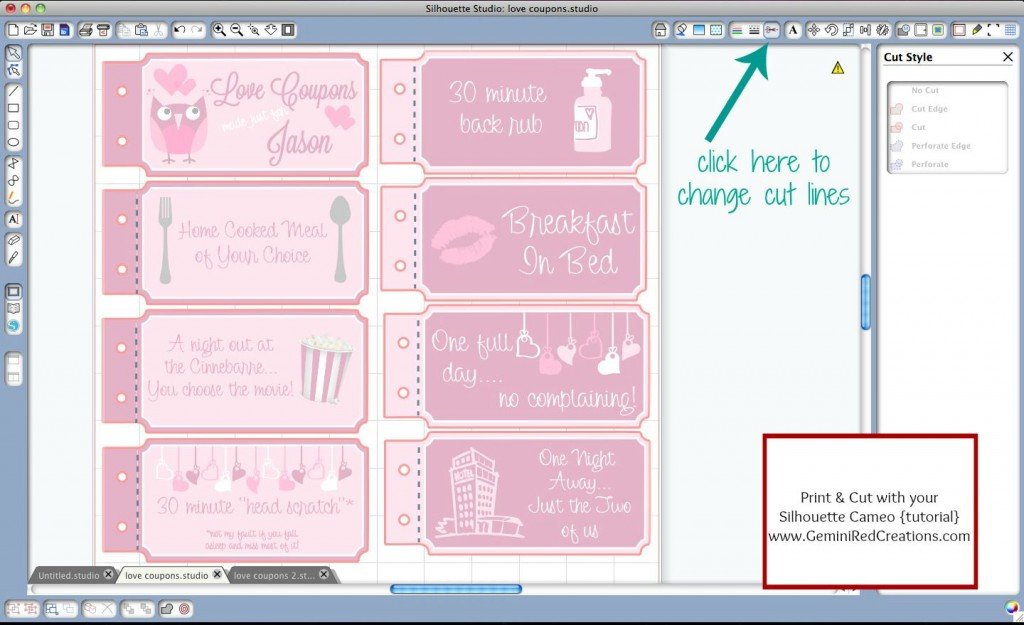
When designing these, I created two holes on the side because in my mind I already tied them up nicely with some matching twine. 🙂 I also placed a perforated line so that Jason would be able to “tear” out the coupons as needed. You can do all of this on the “cut style” tab.
The lines in red are the ones that the cameo will cut. The dotted lines are the ones that the cameo will perforate. Notice that I only have the cameo cutting the outside of each coupon and the holes. We wouldn’t want it to start cutting text or pictures, that would be a mess! I also made sure that I didn’t have a perforated line on the first image, as I only want him to be able to tear out the actual coupons.
While I did design these on one page, my printer doesn’t print 12 inches wide…this means I will have to print and cut half of the designs at a time (this is why I have two files-it’s just easier this way in my opinion).
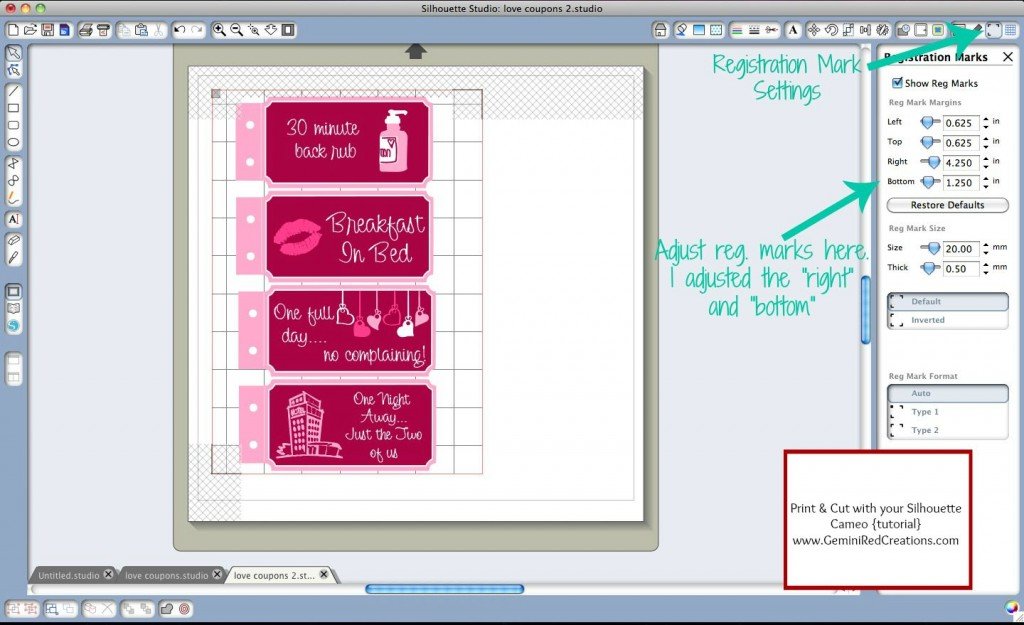
The next step is to add registration marks.
This is what allows the Cameo to detect where your image and lines are. Go to the registration marks settings window and click on “Show Reg Marks.” I will be using 8.5″ x 11″ paper so I want to make sure it will fit. My image is the correct size, but two of the three registration marks are outside of my size paper. You can adjust where the registration marks are by using the arrows on the side.
The next step is to print your design. Here is where I realized that I didn’t raise the bottom registrations marks enough (whoops) and adjusted them up a little more. I also realized I was out of ink! Yikes! Luckily I had a backup cartridge. Once printed, you will notice the registration marks on the paper. This is what the cameo will use to detect your design and cut it where it needs to.
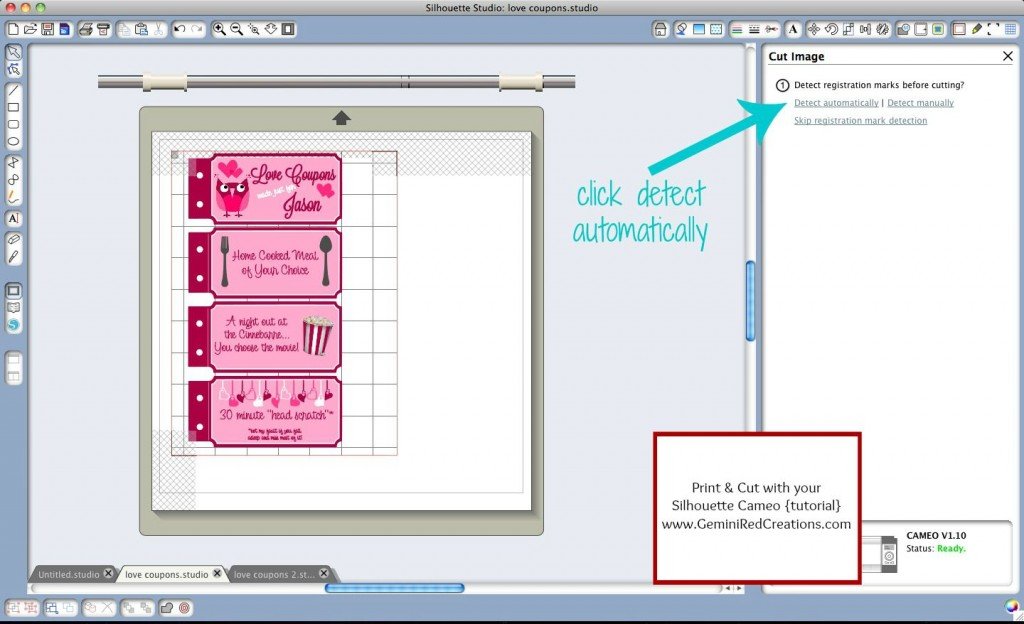
Once you have your printed images, load them onto your mat and go to file>send to silhouette. (Make sure you have the right blade and material settings first). You can go ahead and skip printing since that is already done and continue on until you see “detect automatically.”
Click that and let the cameo do it’s work.
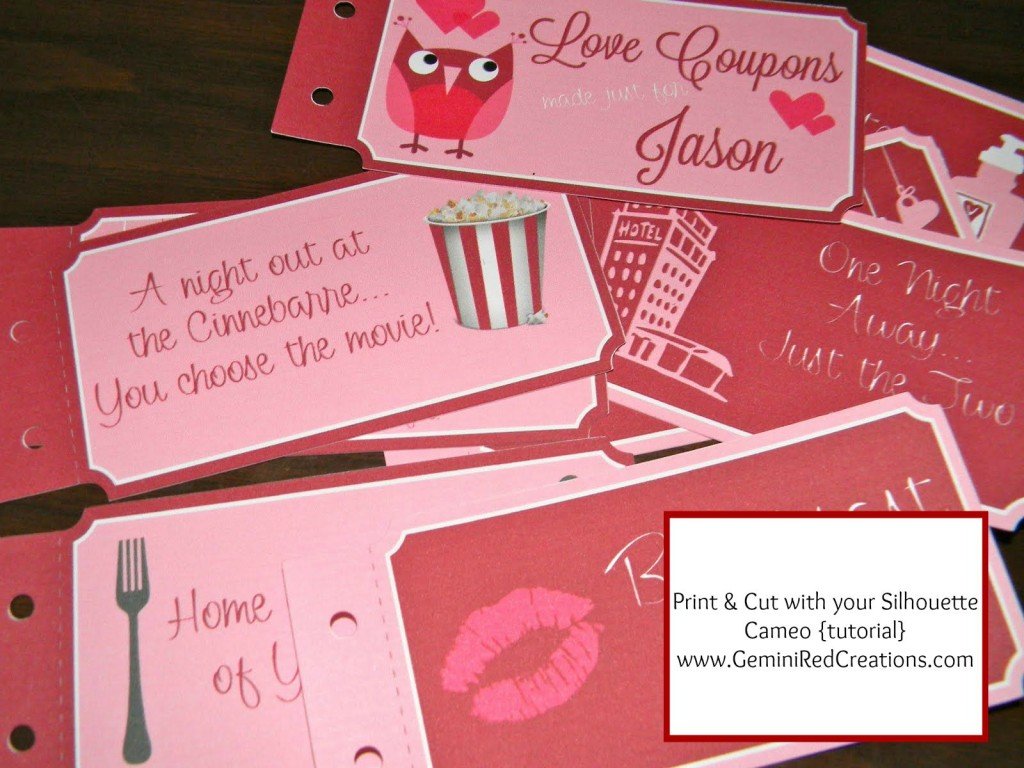
Now you’re ready to cut! When it’s finished cutting you will have these beauties all ready to go (notice the awesome perforated lines!).
Now all you have to do is arrange your coupons and tie them up. How fun is that? Be sure to show us what you come up with!
What have you done with your Silhouette and the Print and Cut functions?
If you haven’t tried it – are you ready now?

