Kim from Lewis Creek Photography is back to give us some more tips & tricks about her favorite subject – photography! I appreciate her bringing us Photography Tips & Tricks…The Basics {part 2}. I still have so much to learn about my “fancy” camera so that one day I can be half as good as Kim!
In Kim’s last photography basics post, she shared some details about aperture and how that impacts the photos you take.
Today, she will spend some time talking about shutter speed and how it can be used creatively to change the look and feel of your photos.
Simply put, shutter speed is the amount of time the shutter stays open and allows light to pass through the lens to the sensor (or film). Much like aperture controls the amount of light through the SIZE of the opening to alter the depth of field, the shutter speed controls the amount of light through the TIME it stays open and impacts the motion in the scene. Faster shutter speeds freeze motion and longer shutter speeds blur motion. Both can be effective in conveying the mood of the photograph. Many iconic photographs are successful because the photographer knew how to use shutter speed to capture the exact moment of the game-winning catch or show the blurred speed of a waterfall’s rushing water.
With the advances in technology and digital cameras, the range of speeds can vary but the industry did adopt some standard speeds that should be found in these increments (displayed in fractions of a second) on most cameras:
- 1/1000 s
- 1/500 s
- 1/250 s
- 1/125 s
- 1/60 s
- 1/30 s
- 1/15 s
- 1/8 s
- 1/4 s
- 1/2 s
- 1 s
Source: Wikipedia.com
So what does this mean with regard to how your images will look? Let’s look at some examples.
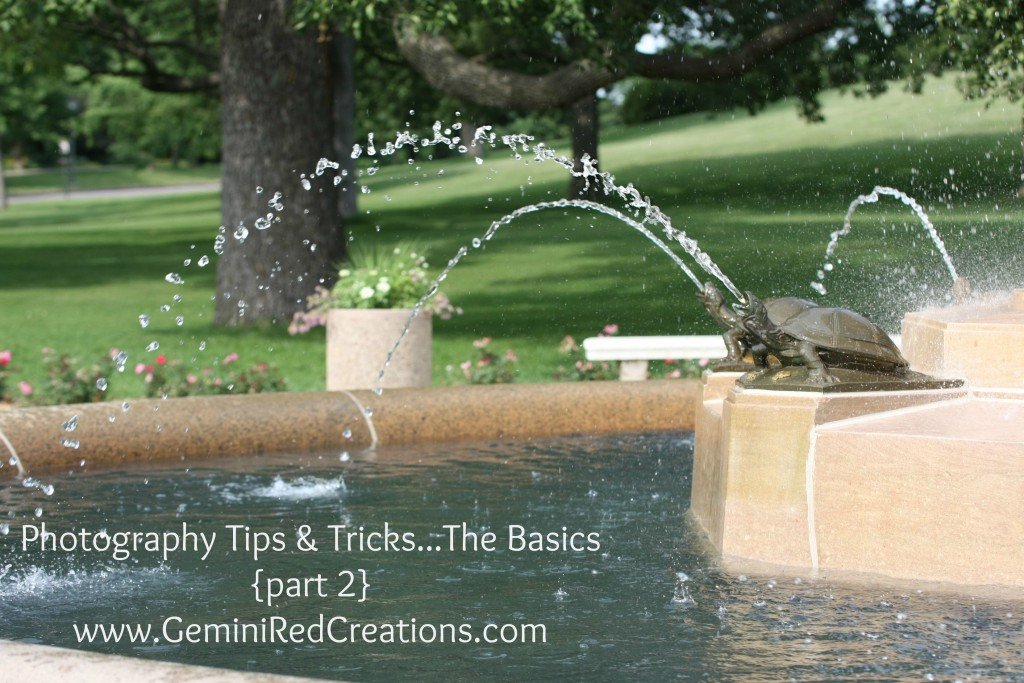
The photo above was snapped with a shutter speed of 1/640. To the naked eye, the fountain looked like one continuous stream of water but buy freezing the action with the fast shutter speed, we can see that the stream was actually lots of fast-moving droplets. Let’s look at another example.
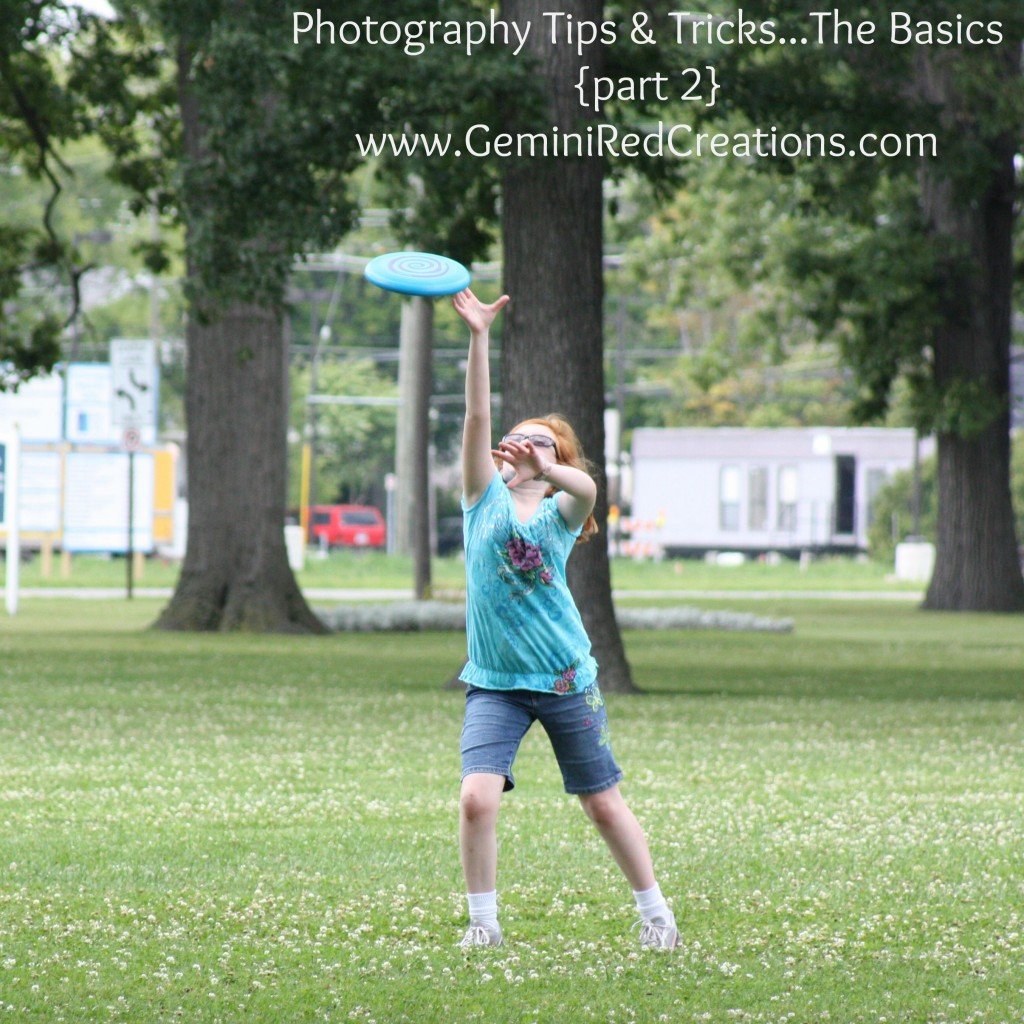
The Frisbee action shot was captured using a shutter speed of 1/500 second and with a speed that fast, I could show the moment the Frisbee touched her fingertips for the catch.
Now let’s look at a couple of examples where slow shutter speeds are used to show motion differently.
This waterfall image was shot at a shutter speed of a full 1.6 seconds. This longer exposure also required a tripod to ensure the surrounding elements were sharp while the rushing water is silky smooth and conveys the movement over the rocks.
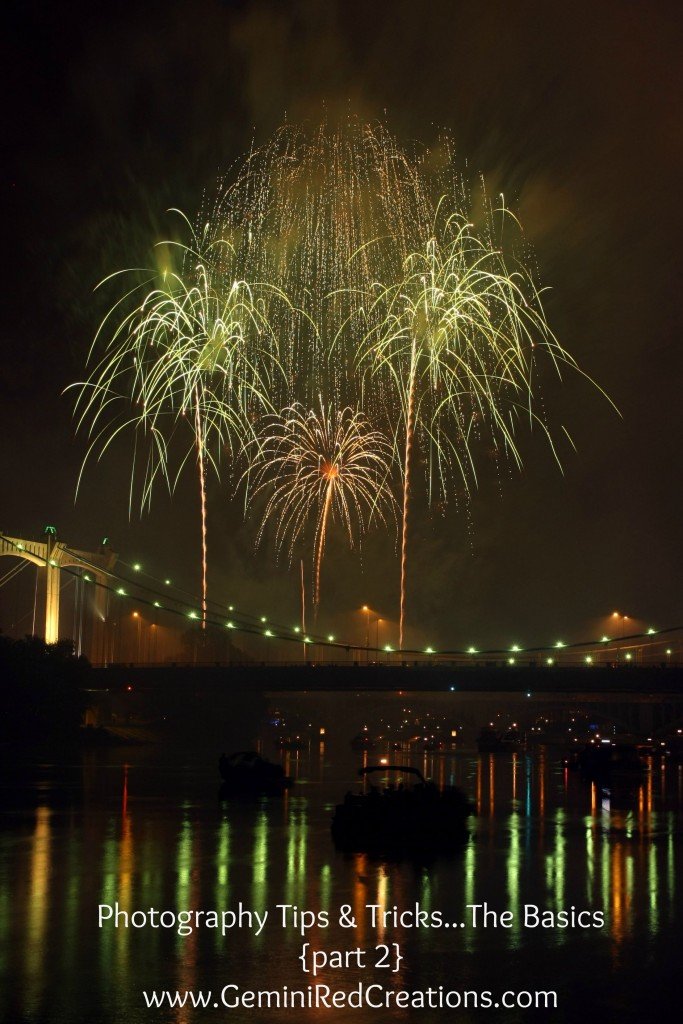
A favorite challenge for all levels of photographers, capturing the beauty of a fireworks display is usually best with slow shutter speeds to show the movement of the burning embers and the full colors. Slow shutter speeds also give a nice reflection off the blurred water below. This image was shot with a speed of 6 seconds which also allowed multiple fireworks to show up in this one exposure.
It is easy to see why shutter speed is so important to how you want your image to look. To recap, with your aperture setting, you can control how much of the image is going to be in focus and with shutter speed, you can control action.
Thanks and happy shooting!
Don’t forget you can learn more about Kim’s photography by visiting Lewis Creek Photography.
What great items are you going to photograph this week?


![Autumn Falls WM[1] v2](https://geminiredcreations.com/wp-content/uploads/2015/08/Autumn-Falls-WM1-v2-1024x683.jpg)
