It’s entirely possible that I’ve been missing out on some really great things at the local Home Depot…and Home Depots across the country! Did you know about these DIH (Do-It-Herself) Workshops? No, well if you like to make things and learn how to do your own household repairs, then you should really look into attending these FREE events that are held the third Thursday of each month. If I could resurrect the cassette tape (for those of you under 30-40 cassette tapes came after the 8-track and before CDs) of me as a child walking around telling everyone “Heather do it” you would know first hand that I’ve been the independent type since I could walk and talk. While I find that pretty exciting, I’ve been driving my family nuts for going on 43 years!
Being the independent (and crafty) type I was so excited to hear about the DIH Workshop on February 21st at the Home Depot Cumberland (Atlanta, GA) which is on my way home from work. I convinced my friend Amy to tag along because you always need a friend in tow for such an adventure!
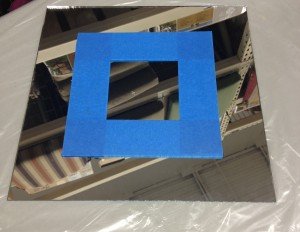
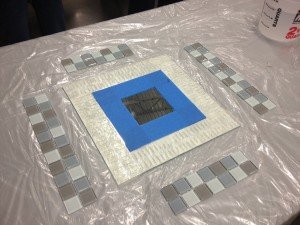
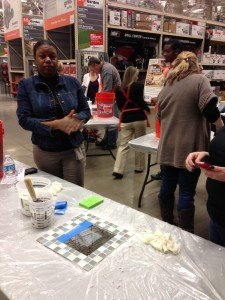
Amy and I showed up at the Home Depot Cumberland ready to make something! And we were super excited to find out we would learn how to add decorative tiles to a mirror. For this particular workshop the tools and supplies were prepared and ready for us at each table. We had a 12×12 mirror tile already taped off, SimpleMat tile setting mat, pre-mixed grout, fine grit sandpaper, water, a sponge, a dry cloth and some gloves.
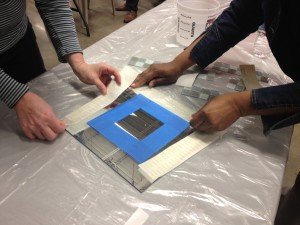
If you were doing this project at home on your own, the first step would be to tape off the portion you want to remain uncovered/untiled at the end. Our mirror was already prepped for us. Second, you would use a fine grit sandpaper to lightly sand the outer areas of the mirror where you will be applying your tiles. This will help to prep the mirror and make it porous so that the SimpleMat tile setting mat (double sided strips of adhesive) that make adhering the tiles easy.
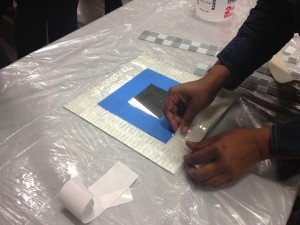
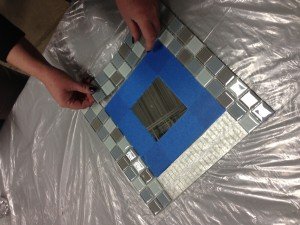
You remove the white backing and adhere it to the sanded surfaces of the mirror. Once everything is lined up to the edge of your mirror and completely covered on all four corners you can remove the clear plastic protective coating.
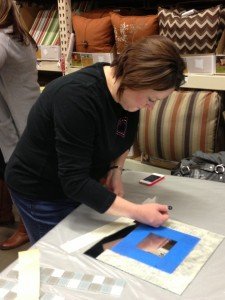
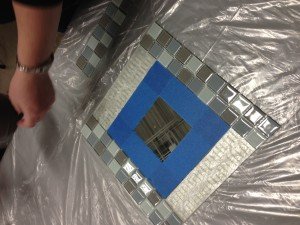
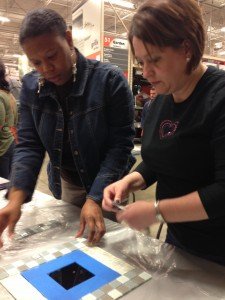
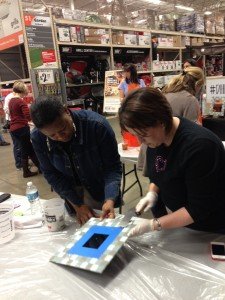
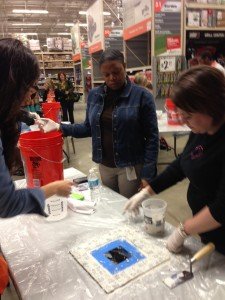
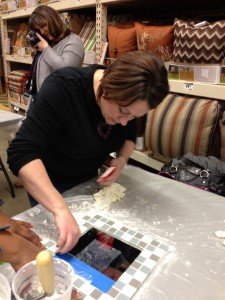
When you get ready to place your tiles, don’t press too hard. If you lightly place them where they belong you will be able to move them if they aren’t quite straight. It was suggested that we do the two (2) long sides first and then add the two (2) short sides in between. This is TJ (she joined Amy and me at our table) and me concentrating on placing the tile and making it “just right.”
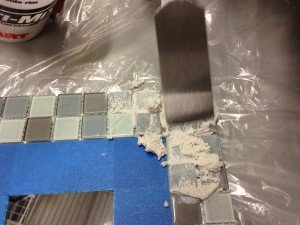
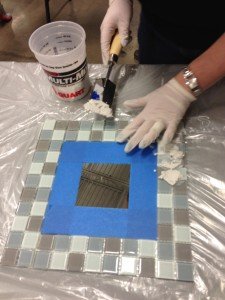
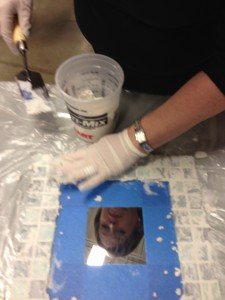
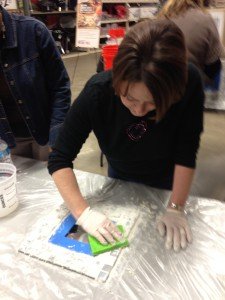
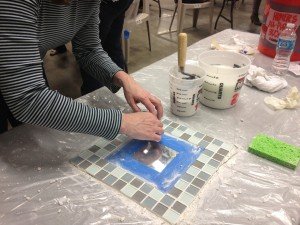
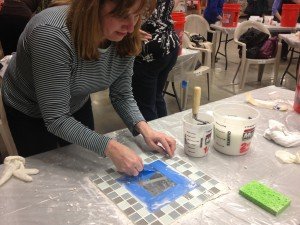
So, now that we’ve done all the “non-messy” work, it’s time to put on gloves and get ready for some grout! For this project you want to use a sanded grout. Sanded grout is recommended for spacing of 1/8″ or wider between the tiles. We used a pre-mixed grout. We found it much easier to apply by hand instead of using the trowel.
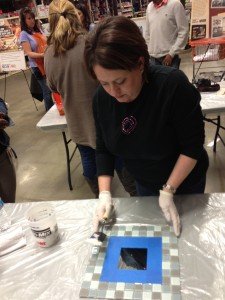
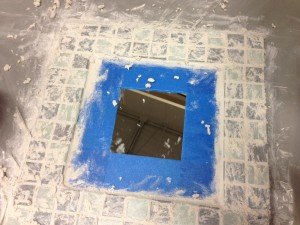
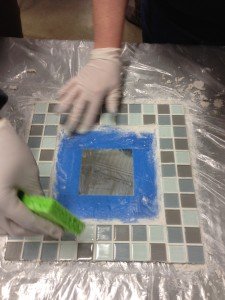
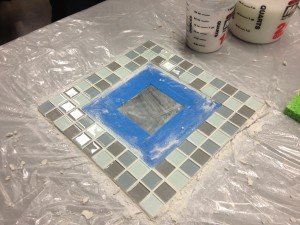
You want to make sure you spread the grout evenly and fill in all the spaces. You also need to go around the perimeter of the tiles and all outer edges as well as inside where the tape is. You just want to be sure that there are no gaps or areas without grout. Cover all your tiles with a thin layer – you don’t want it to be so thick you can’t see the tiles.
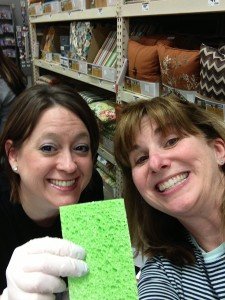
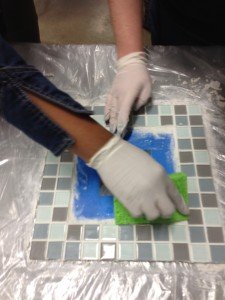
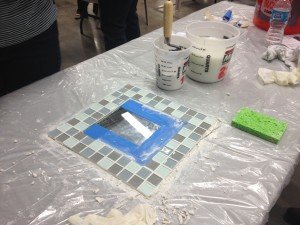
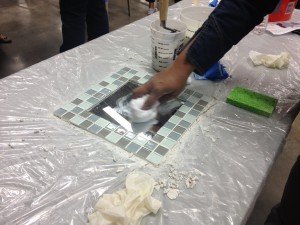
Now it’s time to wet your sponge and wipe off the excess grout – don’t wring out too much water. You need to be able to get all the grout off your tiles. Amy and I paused for a moment of our usual goofing around (so, in case you aren’t sure what a sponge looks like…this picture will clear that up for you).
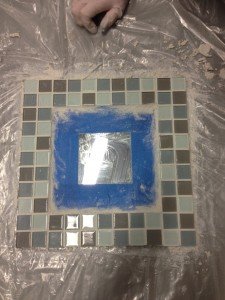
Oh my goodness! Can you believe how far we’ve come! Believe it or not…the project was not as long as it seems it might have been. There was (obviously) plenty of time for snapping photos, talking and learning! Now that you have used your wet sponge to wipe off all the extra grout you will want to use a dry towel (although we were told that cheesecloth works better) to go over the tiles and then you are ready to remove the tape.
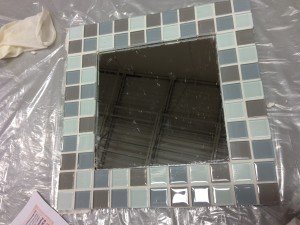
Ladies and gentlemen…we have a finished product! Two days after you will want to seal the grout (the product they showed us is by Tile Lab). You will especially want to seal it if you will be hanging your mirror in a bathroom or kitchen.
I think I can speak for all the DIHers there when I say – we learned a lot, met some great people, and made a beautiful product! There was a great turn out, and all the Home Depot team members that were there were extremely nice, knowledgeable and great to work with!
Here is a picture of our awesome Home Depot Cumberland team and a picture of the group of us!
Now that I’ve learned this technique – I’m ready to do this to the boring builder’s grade mirror in my bathroom! And, don’t tell all my friends, but I’m pretty sure this is what everyone is getting for Christmas this year! When I get to work on the bathroom mirror I will be sure to post all about the process and show you the steps along the way. And I will do the same for the Christmas presents. My greatest obstacle will be choosing the tiles. There are so many beautiful ones to choose from!
At the end of the event we were given a small booklet with all the information needed to duplicate the process, and information about upcoming events. Be sure to check your local Home Depot for Do-It-Herself Workshops in your area. The upcoming schedule is:
March 21, 2013 – Energy Efficiency: Sensors & Dimmers
April 18, 2013 – Gardening for Small Spaces: Flower Tower and Vegetable & Herb Gardens
May 16, 2013 – Inspired by Pinterest: Succulent Gardens
June 20, 2013 – How to Build an Adirondack Chair
July 18, 2013 – Bath Updates (Install a Faucet/Vanity)
I’m looking forward to seeing you at an upcoming event!
“This is a sponsored post written by me on behalf of The Home Depot Cumberland (Store 121).”







I have always wanted to take my granddaughter to the Home Depot DIY Workshops but it seems as if the crafts they are making would be too hard for my 2 year old granddaughter. I wish they had younger groups for her.
They offer events for children, but I think they have usually been geared to 5 years and up.
I have been to a DIY workshop before but it has been a while. I used to take my son to the workshops for kids too. We both really had fun. I had friend that went with me. It was girls night out! Just hopped over from Linking with my Ladies.
http://agutandabutt.blogspot.com/
Thank for stopping by! I will be checking out your blog and adding it to my FeeddlerPro reader.
this actually looks like a project i can do…your explanations and pics are great. you make it look easy. do they sell just a ‘sheet’ of tiles? does HD sell the mirrors, too? good stuff!
Yes, you can purchase sheets of the tiles and cut them into strips and Home Depot does sell the mirrors. They have everything you will need. Perhaps your local Home Depot still has a copy of the little booklet they gave out at the event which lists the products you need and some instructions. If they do not, feel free to e-mail me at heather@geminiredcreations.com and I will send you a copy.
That is so cool! Will have to check to see if they do that locally. Thanks for sharing. Found you on the blog hop. Check me out @ http://www.feelingtheemptynest.blogspot.com when you get a chance. Thanks:)
Thanks for stopping by. I love finding new blogs to follow by linking up with the blog hops! I am adding your blog to my FeeddlerPro app!
This is so cool.
It was a lot of fun.
This is so cool. I’ve always wanted to try tiles and grout. Love this.
I hope you give it a try. There are so many tile options.
I’ve never been to a Home Depot DIY workshop…it looks like you had fun, and your creation is cool!
I really enjoyed it and plan to check out future events.
That looks awesome and I had no idea that Home Depot did DIY projects in the store. I’ve been missing out? Shame on me!
Be sure to check the upcoming events!
Like one of your other readers, I was not aware that they had DIY project classes for adults, merely the children. I would be so interested in attending some of these classes, if not all. Thanks for the tips. Oh, the mirror looks great, by the way.
I was really excited to find out about the events. Even though I don’t garden, I think I will be attending the upcoming classes just to learn more and share with my readers!
I knew they had stuff for kids once in a while but I had no idea I was missing out on these!!
I know! I can’t believe I’ve been missing out!